

The Bucket Fill Tool may look simple: click an area, flood it with color, move on. But in graphic design and digital illustration, this humble tool can do much more than “paint inside the lines.” Used thoughtfully, it can speed up workflows, establish visual hierarchy, test color palettes, create bold compositions, and help artists move from sketch to finished artwork with confidence.
TLDR: The Bucket Fill Tool fills connected areas with color, patterns, or gradients based on settings like tolerance, opacity, and selection boundaries. For example, an illustrator coloring a 12-panel comic page might reduce flat-coloring time by 40–60% by using clean line art and smart fill settings. It is especially useful for quick color blocking, background creation, icon design, poster layouts, and experimenting with different visual moods before committing to final details.
What Is the Bucket Fill Tool?
The Bucket Fill Tool is a digital painting and design feature that fills a selected or enclosed area with a chosen color, pattern, or sometimes a gradient. It works by analyzing pixels that are similar or connected, then replacing or covering them with the fill you choose. In many creative apps, it looks like a small tilted paint bucket pouring color.
Its basic function is easy to understand, but its results depend heavily on settings. The most important setting is usually tolerance. A low tolerance fills only pixels very close to the clicked color, while a high tolerance fills a broader range of related colors. This matters when working with textured sketches, anti-aliased line art, or shaded areas.
Other common settings include:
- Opacity: Controls how transparent or solid the fill appears.
- Contiguous fill: Fills only connected pixels, rather than every similar pixel in the image.
- Anti-aliasing: Softens edges so fills do not look jagged.
- Pattern fill: Applies a repeatable texture or graphic instead of a flat color.
- Fill selection: Limits the fill to a selected shape or region.
Once you understand these controls, the Bucket Fill Tool becomes less of a shortcut and more of a creative engine.

Why Designers and Illustrators Use It
Speed is the obvious advantage. If you have ever tried coloring a character, product mockup, logo concept, or decorative pattern by hand, you know how repetitive it can become. The Bucket Fill Tool makes it possible to block in large areas instantly, giving you more time to focus on composition, contrast, mood, and refinement.
For illustrators, it is particularly useful during the “flats” stage: the phase where each part of an illustration receives a base color before shadows, highlights, and effects are added. Comic artists, children’s book illustrators, game artists, and concept designers often rely on this process because it creates a clean foundation for more advanced rendering.
For graphic designers, the tool is excellent for layouts that involve flat shapes, icons, infographics, posters, social media graphics, and brand assets. A designer can duplicate a layout and test five color systems in minutes, comparing a warm palette, cool palette, monochrome treatment, high-contrast version, and pastel variation without redrawing anything.
Creative Use 1: Fast Color Blocking
Color blocking is one of the strongest uses of the Bucket Fill Tool. Instead of thinking about final shading right away, you use large flat shapes to define the structure of an image. This is useful for deciding whether a character’s clothing, a product label, or a poster background feels balanced.
For example, imagine designing a travel poster with mountains, a lake, trees, sky, and a bold title. By filling each area with a flat color first, you can quickly judge the overall harmony. If the sky is too bright, the title may lose impact. If the mountains are too dark, the foreground may feel heavy. With bucket fills, testing these changes takes seconds.
Tip: Keep your color-blocking stage on separate layers whenever possible. This gives you the freedom to adjust one element without disrupting the rest of the design.
Creative Use 2: Building Strong Silhouettes
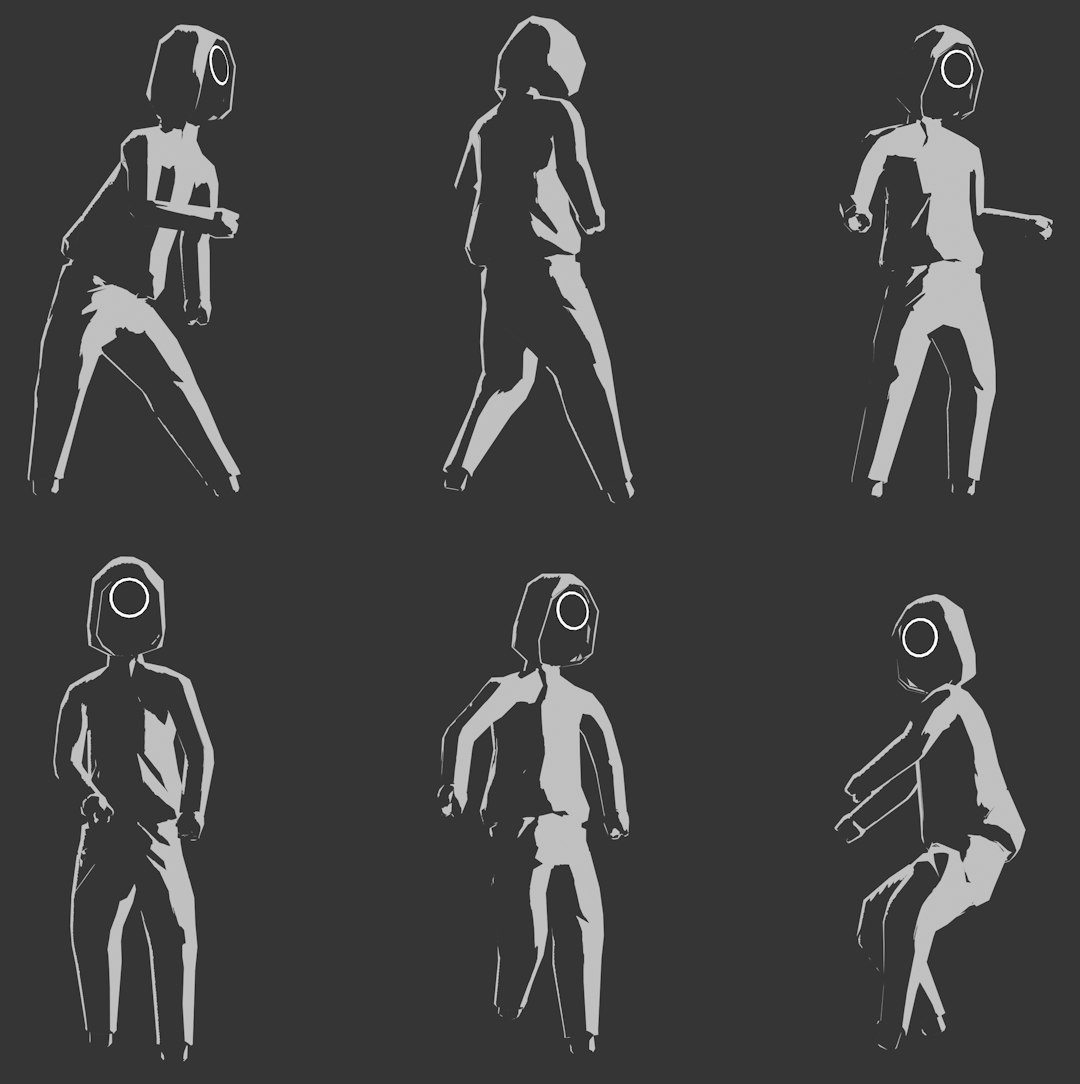
In illustration, silhouettes are essential. If a character, object, or icon is recognizable as a simple filled shape, it will likely read well at small sizes and from a distance. The Bucket Fill Tool can help you test silhouettes by filling a sketch or selection with a single dark color.
This technique is common in character design. Before adding facial features, patterns, fabrics, or lighting, artists often check whether the pose and outline communicate the right personality. A heroic character may need broad shoulders and a confident stance. A sneaky character may need a curved posture and narrow shape language. Filling the form in black or another solid color reveals these qualities immediately.

Creative Use 3: Pattern and Texture Experiments
Many people associate the Bucket Fill Tool with flat color, but pattern fills can be just as powerful. You can fill selected areas with dots, stripes, paper textures, fabric patterns, halftones, or custom motifs. This is especially helpful in editorial illustration, packaging design, and poster art.
A flat yellow raincoat, for instance, might become more visually interesting with a subtle canvas texture. A background might gain energy through a halftone pattern. A set of decorative labels might feel more handcrafted when filled with lightly distressed paper grain.
The key is restraint. Patterns should support the design, not overpower it. Lowering opacity, changing blending modes, or applying texture only to selected regions can keep the result polished.
Creative Use 4: Creating Graphic Backgrounds
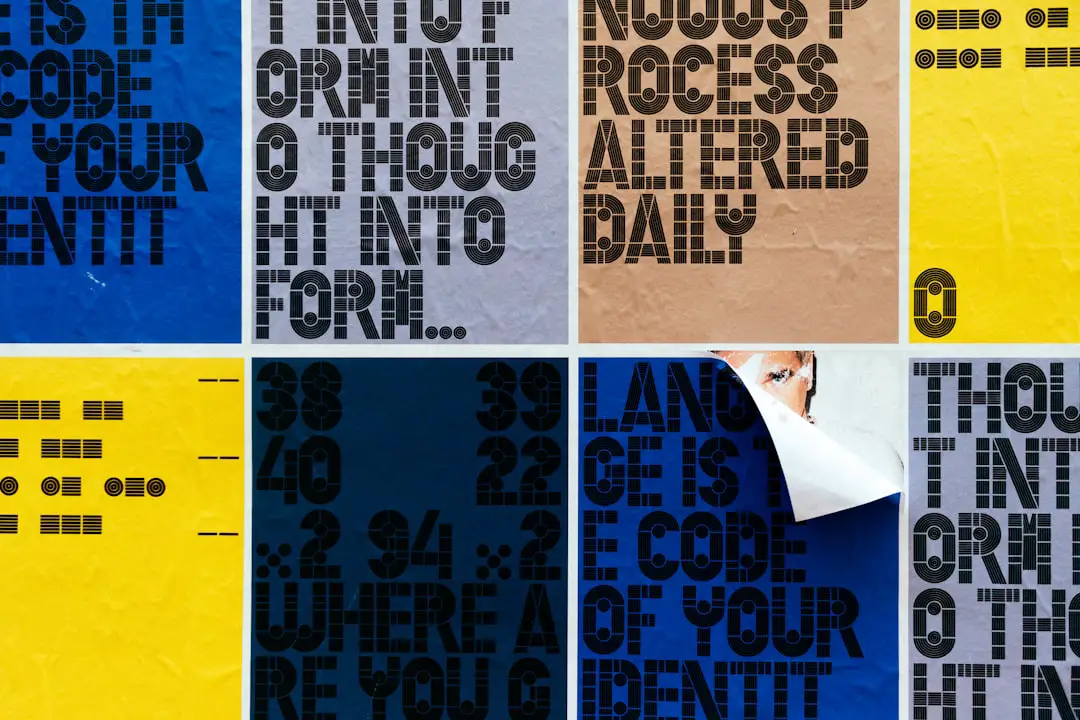
The Bucket Fill Tool is excellent for making bold backgrounds. You can fill geometric selections, abstract shapes, or large blocks of space to create visual rhythm. This works well for social media graphics, presentation slides, banners, thumbnails, and posters.
Try creating a background with three or four irregular shapes, then fill each with a different color from the same palette. Add typography on top, and you have a modern composition with very little complexity. This method is also useful when designing around a focal image, because you can guide the viewer’s eye with color placement.
A bright fill behind a product can make it feel energetic; a muted fill can make it feel premium or calm. The tool gives you a quick way to explore those emotional differences.
Creative Use 5: Refining Icons and Logos
For icon and logo work, the Bucket Fill Tool helps test clarity. Designers can fill shapes with different colors to evaluate contrast, spacing, and recognizability. A simple icon may look effective in black and white but become confusing when color is introduced. Filling areas quickly allows you to identify these problems early.
It is also helpful for checking negative space. If an icon has enclosed gaps, filling surrounding shapes can reveal whether those spaces are intentional and readable. This is important for small-scale design, where every pixel counts.

Common Mistakes to Avoid
Although the Bucket Fill Tool is easy to use, beginners often run into predictable issues. The most common is the unwanted white halo that appears around filled areas. This usually happens when line art has soft edges or when the fill tolerance is too low. Increasing tolerance slightly, enabling anti-aliasing, or filling on a layer beneath the line art can solve the problem.
Another issue is filling the wrong area due to gaps in the outline. Even a tiny break in a line can cause color to spill into surrounding space. To prevent this, zoom in and close gaps, use selection tools, or work with cleaner line art.
Also avoid relying on bucket fills alone for finished artwork. Flat color is a foundation, not always the final result. Adding shadows, highlights, gradients, texture, and small details can transform a basic fill into a professional illustration.
Best Practices for Better Results
- Use clean boundaries: Closed shapes produce more predictable fills.
- Adjust tolerance gradually: Small changes can make a big difference.
- Work in layers: Separate line art, base colors, shadows, and textures.
- Test palettes quickly: Duplicate your design and compare color options side by side.
- Combine with selections: Selection tools give you more control over where fills appear.
- Add finishing touches: Use brushes, gradients, and effects to avoid a flat or unfinished look.
Final Thoughts
The Bucket Fill Tool is often underestimated because it feels automatic. Yet its real power lies in how it supports creative decision-making. It helps artists and designers move quickly, test ideas boldly, and build structured artwork from simple shapes and colors.
Whether you are coloring an illustration, developing a poster, experimenting with patterns, checking an icon, or planning a brand visual, the Bucket Fill Tool can make your process faster and more flexible. Treat it not as a basic shortcut, but as a practical design partner: one click can fill a space, but the right click can change the entire mood of a composition.