
Adding a VHS overlay in iMovie is one of the most effective ways to give your footage a nostalgic, analog aesthetic. The look of vintage tape noise, scan lines, subtle distortion, and time stamps can instantly transform modern digital footage into something that feels authentic and emotional. While iMovie does not include a built‑in “VHS effect,” it provides enough tools to recreate the style with overlays, blending modes, filters, and simple adjustments. This guide walks you through the entire process clearly and professionally so you can achieve convincing results—even as a beginner.
TLDR: iMovie does not have a built‑in VHS filter, but you can easily create the effect using VHS overlay footage, blending modes, color adjustments, and distortion tools. Download a high-quality VHS overlay, layer it above your video, and adjust opacity and color settings for realism. Enhance the look further with noise, desaturation, and subtle audio distortion. With careful tweaks, you can achieve an authentic retro aesthetic in just a few steps.
Understanding the VHS Effect
Before jumping into the technical steps, it is important to understand what makes VHS footage look unique. VHS recordings were analog and had technical limitations that defined their aesthetic. Simply lowering quality is not enough—you need to replicate specific visual characteristics.
Key elements of the VHS look include:
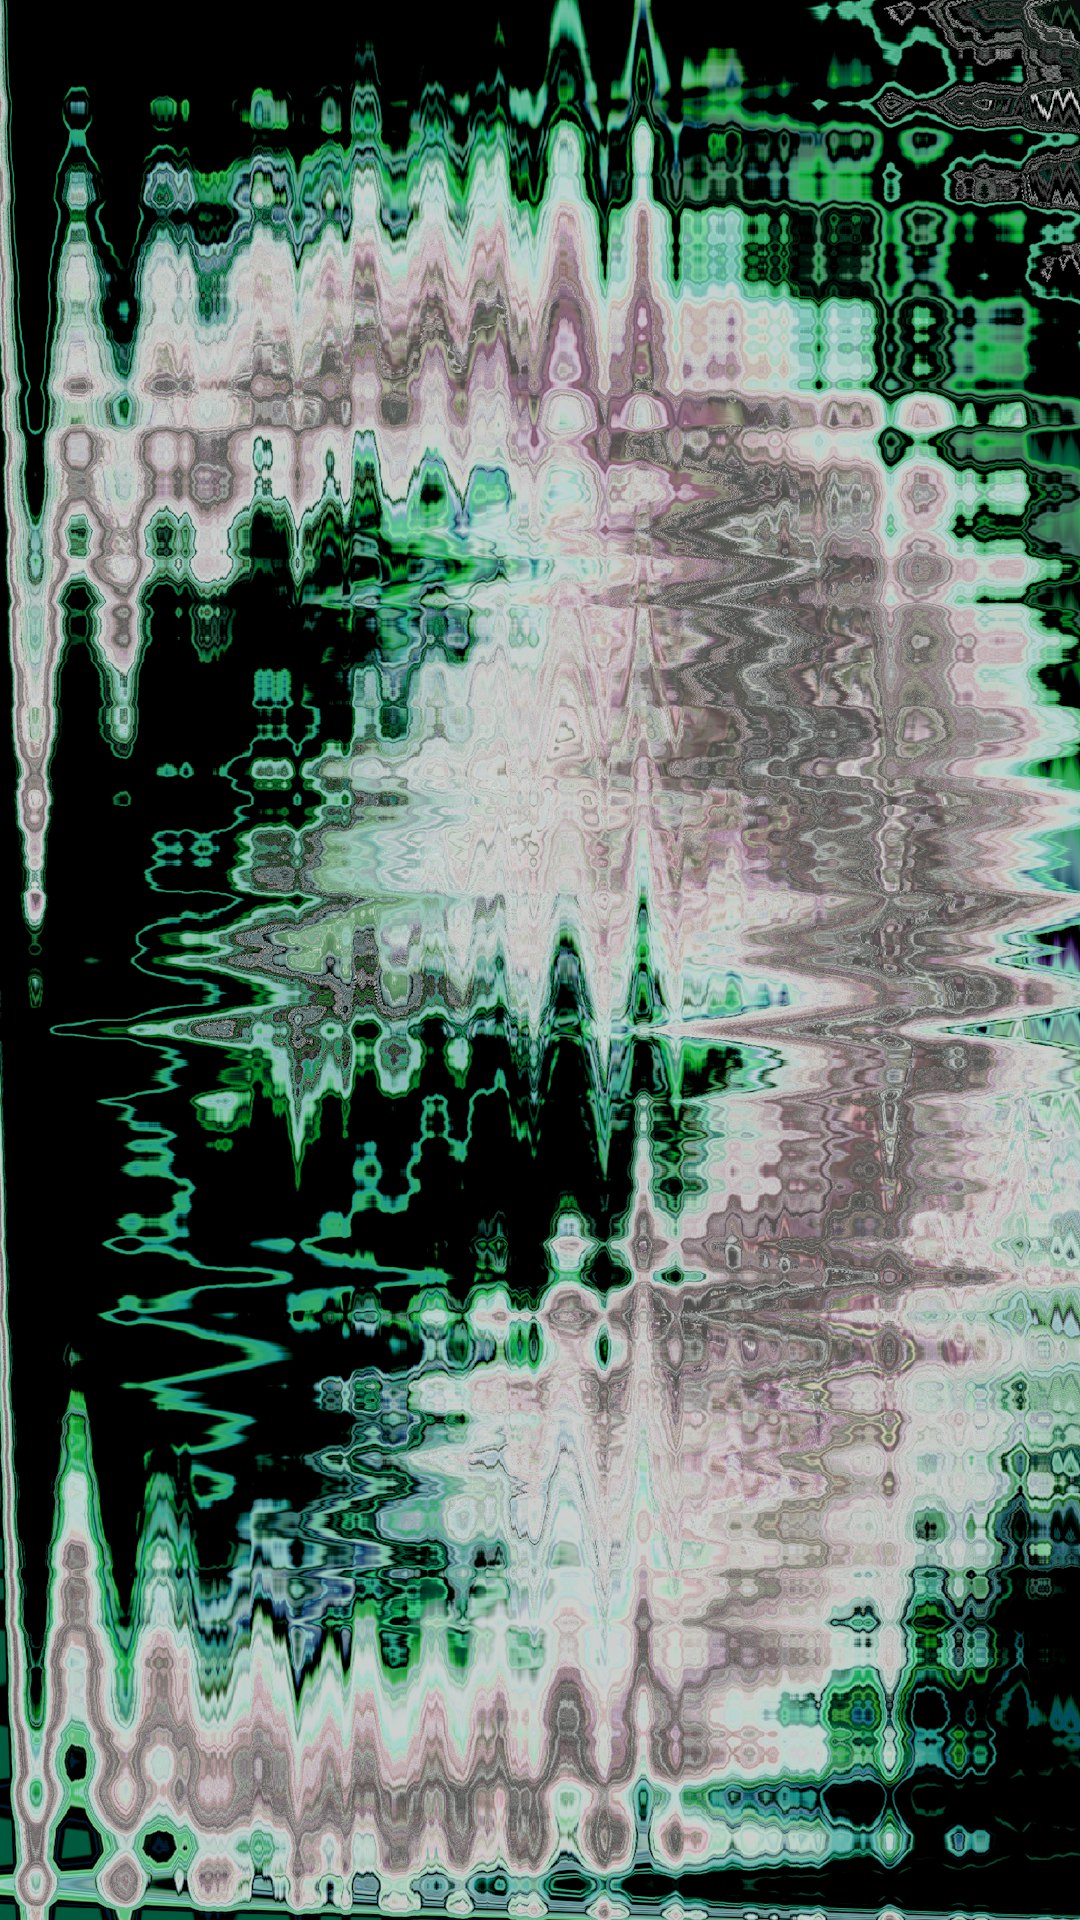
- Horizontal scan lines
- Grain and video noise
- Color bleeding and desaturation
- Soft focus and blur
- Distortion and tracking lines
- Timestamp overlays
In iMovie, you will recreate these traits manually using overlays and built-in adjustments.
Step 1: Download a High-Quality VHS Overlay
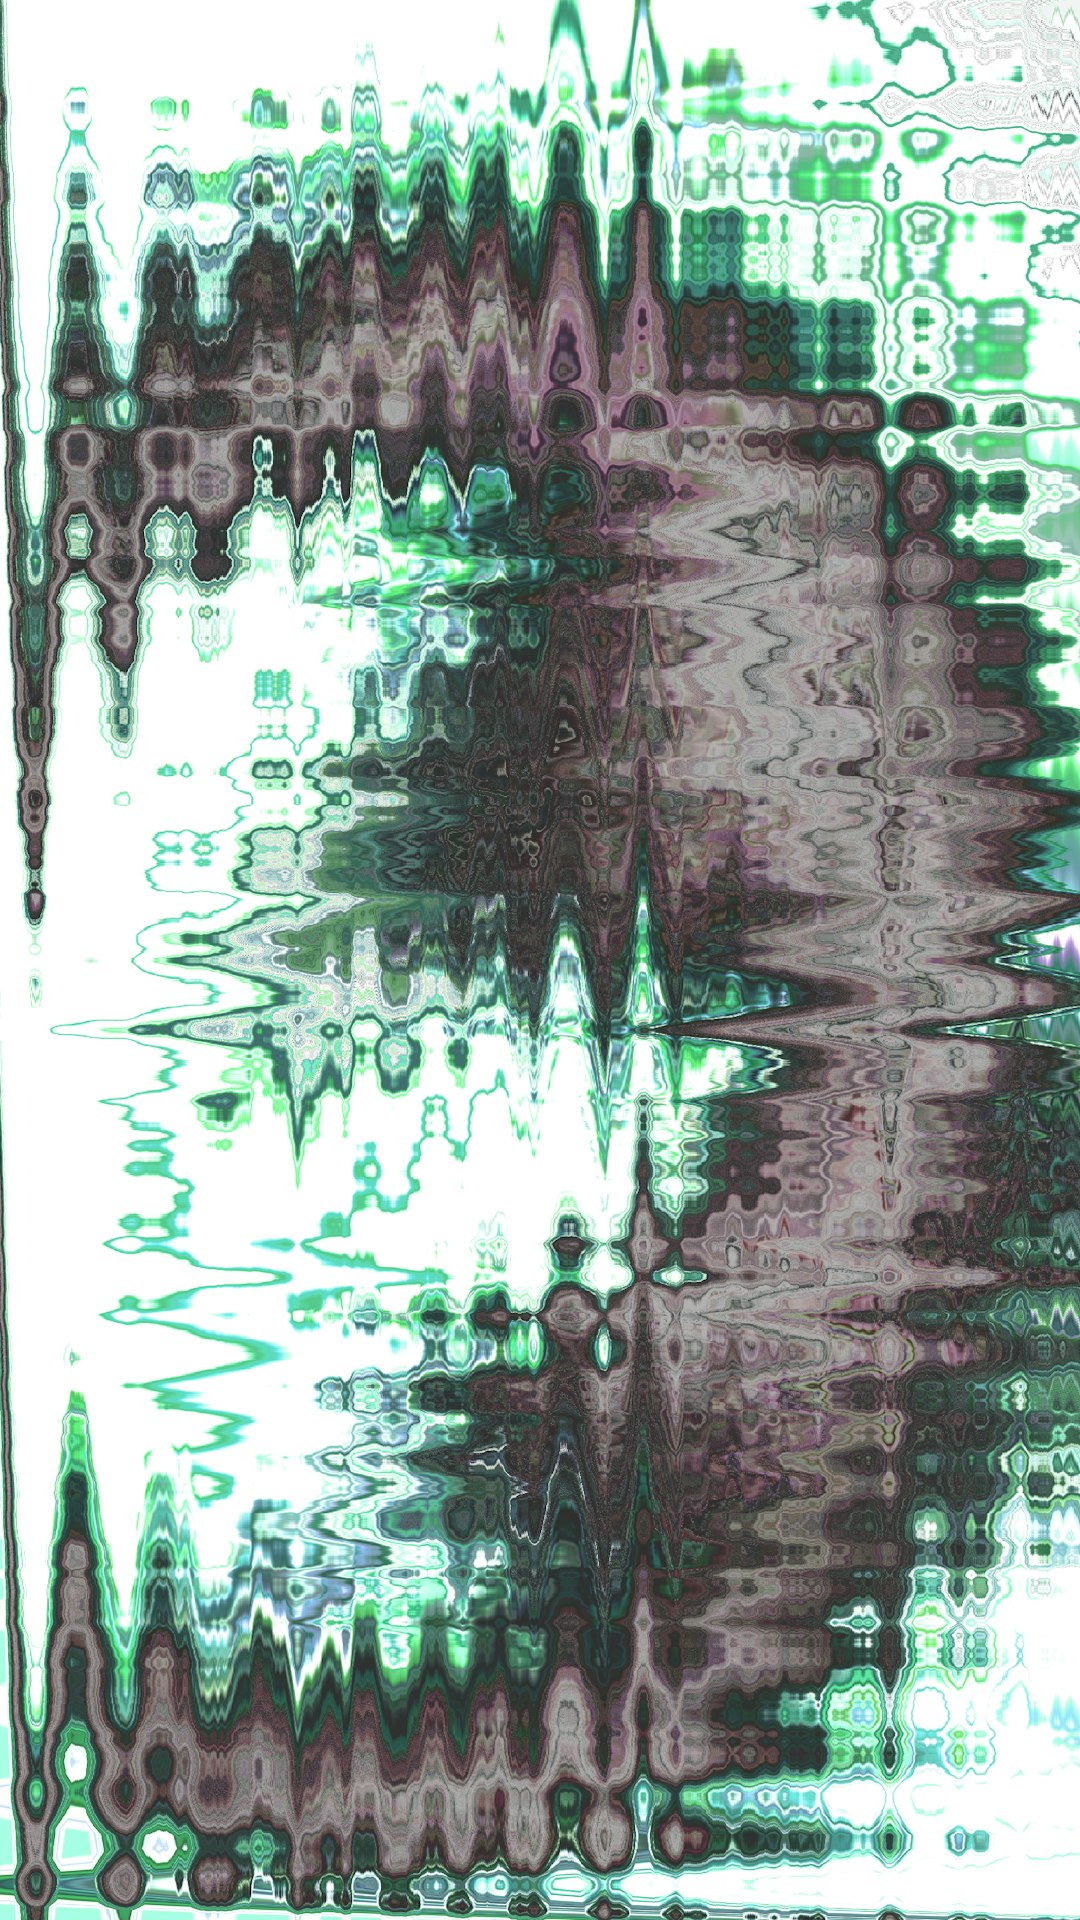
The easiest way to create a realistic VHS effect is by using a pre-made VHS overlay file. These overlays are typically short video clips containing static noise, scan lines, flickers, and distortion effects on a transparent or black background.
When choosing an overlay:
- Look for high-resolution files (1080p or 4K)
- Choose versions with transparent backgrounds (MOV ProRes with alpha channel works best)
- Avoid overly exaggerated distortion unless stylistically intentional
You can find VHS overlays on stock footage websites, creative marketplaces, or free video resources. Once downloaded, save the file somewhere accessible.
Step 2: Import Your Footage into iMovie
Open iMovie and create a new project:
- Click Create New
- Select Movie
- Import your main video footage
- Drag it onto the timeline
Next, import the VHS overlay file:
- Click Import Media
- Select your downloaded VHS overlay
- Add it to your media library
Step 3: Add the VHS Overlay to the Timeline
This is the critical step where the effect begins to take shape.
- Drag the VHS overlay directly above your main video clip in the timeline
- When prompted, choose Overlay Settings
- Select Cutaway or Picture in Picture (Cutaway is usually preferred)
If your overlay does not have transparency, you may need to reduce its opacity.
Adjust Overlay Settings:
- Click the overlay clip
- Select the Overlay Settings icon
- Adjust Opacity (typically 40–70% works best)

The goal is subtlety. The viewer should notice the texture but still clearly see the main subject.
Step 4: Adjust Color and Tone
Raw digital video looks too clean for a believable VHS aesthetic. Now it is time to degrade the image slightly.
Select your base video clip and make the following adjustments:
- Reduce Sharpness
- Lower Contrast
- Slightly desaturate colors
- Add a mild Warm or Cool filter (depending on your desired style)
Experiment with the Color Balance and Color Correction tools inside iMovie. Avoid extreme changes—VHS footage is imperfect but still viewable.
Optional: Add Blur
If your footage is particularly crisp, apply a very light blur effect. VHS footage is always slightly soft due to analog formatting.
Step 5: Add Timestamp or Camcorder Graphics
A timestamp instantly reinforces the retro camcorder aesthetic. Although iMovie does not have built-in VHS timestamp templates, you can create one manually.
- Click Titles
- Choose a simple font
- Type a date and time (e.g., 12.05.1998 16:34)
- Use a small size and position it in the corner
- Adjust the color to white, yellow, or light blue
To increase realism, reduce the title’s opacity slightly and avoid perfectly centered placement.
Step 6: Enhance the Audio for Authenticity
True VHS recordings did not have perfectly clean audio. Adding subtle imperfections makes your video significantly more convincing.
Consider:
- Adding light background hum
- Reducing audio clarity slightly
- Lowering dynamic range
- Adding faint tape hiss sound effects
Keep adjustments subtle. The enhancement should feel natural, not distracting.
Step 7: Final Review and Fine-Tuning
Before exporting, review your project critically:
- Is the overlay too strong?
- Do the colors look unnaturally faded?
- Is the noise distracting from the subject?
- Does motion feel smooth and cohesive?
Small refinements make a significant difference between amateur and professional results.
Alternative Methods for Adding VHS Effects
While the overlay method is the most practical solution in iMovie, there are a few alternative approaches.
| Method | Ease of Use | Cost | Realism | Customization |
|---|---|---|---|---|
| Manual Overlay in iMovie | Beginner Friendly | Free (if overlay is free) | High | Moderate |
| Third Party VHS Plugin | Very Easy | Paid | Very High | Limited to preset controls |
| Creating Effects from Scratch | Advanced | Free | Moderate | High |
Third-Party Plugins
Some video editors prefer to use dedicated VHS effect plugins. While iMovie does not support advanced plugins like Final Cut Pro, you may create the effect externally and import the processed footage back into iMovie.
Creating Effects from Scratch
This method involves stacking grain, distortion, blur, and color filters without using a predefined overlay. While possible, it requires more experimentation and often does not match the realism of actual scanned analog textures.
Common Mistakes to Avoid
Even simple effects can look unprofessional if overdone. Avoid these frequent errors:
- Using excessive distortion that obscures the subject
- Over-saturating colors when VHS typically softens them
- Perfectly clean audio paired with degraded visuals
- Using modern fonts for timestamps
The most convincing retro aesthetics rely on restraint and consistency.
Export Settings for Best Results
Once finished:
- Click Share
- Select File
- Choose 1080p resolution
- Use high quality compression
Although VHS was low resolution, exporting in high quality ensures your overlays and creative adjustments remain sharp without introducing unintended digital compression artifacts.
Final Thoughts
Adding a VHS overlay in iMovie is a straightforward process that delivers powerful visual results. By combining layered textures, thoughtful color correction, subtle blur, and authentic audio adjustments, you can convincingly recreate the nostalgic charm of analog home video. While iMovie lacks a one-click VHS filter, its core editing tools are more than capable when used carefully.
The key to success lies in moderation and realism. Focus on layering small imperfections rather than overpowering your footage with obvious effects. When executed thoughtfully, the VHS aesthetic can feel emotional, cinematic, and intentionally crafted rather than artificially degraded.
With practice, you will develop an instinct for balancing authenticity and clarity—allowing you to produce retro-styled videos that feel genuinely timeless.