
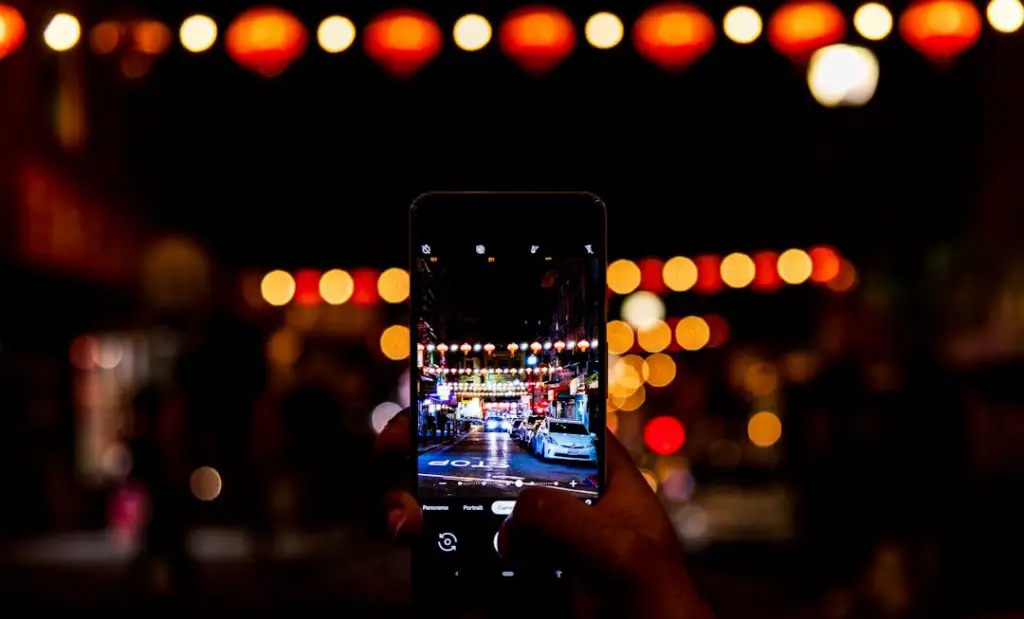
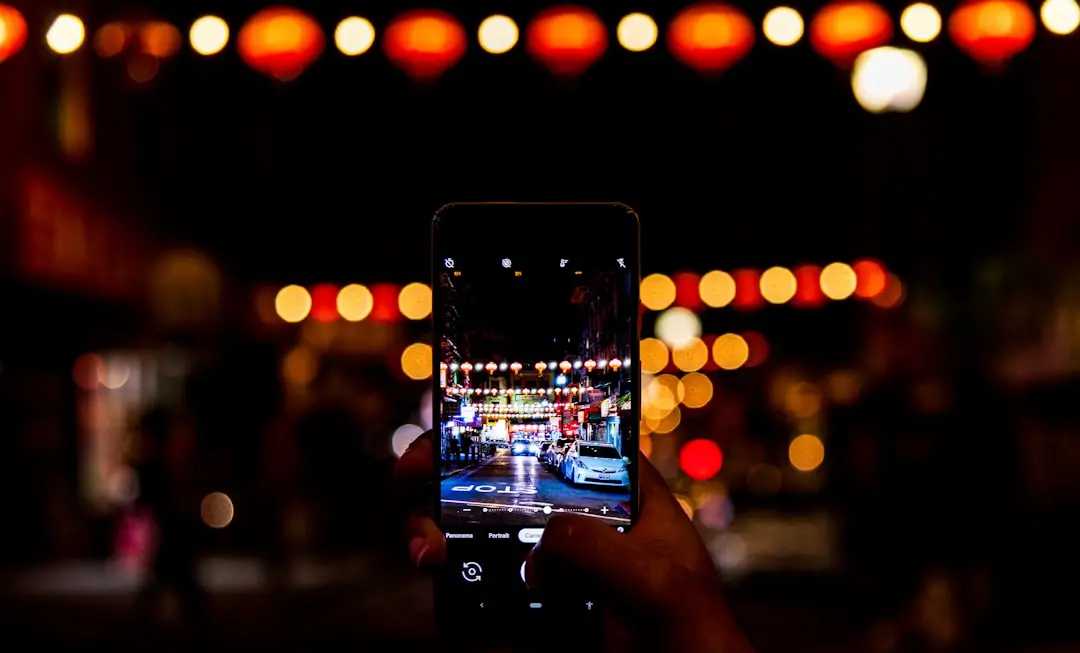
Artificial intelligence has transformed personal creativity, allowing anyone to place themselves inside imaginative worlds with just a few clicks. From cinematic fantasy portraits to professional LinkedIn headshots, AI image generators now make it possible to upload a photo and become part of an entirely new scene. While the technology may seem complex, the actual process is surprisingly accessible when broken into clear, manageable steps.
TLDR: Adding yourself into an AI image generator involves choosing the right tool, uploading high-quality photos, training or prompting the model properly, and refining results through edits. Good lighting, multiple reference photos, and detailed text prompts significantly improve realism. Some platforms require training a custom model, while others allow instant image uploads. With careful editing and ethical considerations, anyone can create professional or creative AI-enhanced portraits.
Understanding How AI Image Generators Work
Before diving into the steps, it helps to understand what AI image generators actually do. These systems rely on machine learning models trained on massive image datasets to generate new visuals based on text prompts or uploaded photos. When users add their own image, the AI either:
- Uses the uploaded photo directly as part of the composition
- Applies stylistic transformations
- Trains a lightweight custom model to replicate facial features
- Blends the face into a new AI-generated scene
Each method requires different levels of input and patience, but the core idea remains the same: provide high-quality reference material and detailed instructions.
Step 1: Choose the Right AI Image Generator
Not all AI image generators are built for inserting people into scenes. Some are text-prompt focused, while others specialize in face-swapping or portrait training. Choosing the right platform is crucial.

Popular Tools for Adding Yourself
| Tool | Best For | Ease of Use | Custom Model Training |
|---|---|---|---|
| Midjourney | Artistic styled portraits | Moderate | Limited |
| DALL·E | Photorealistic image blending | Beginner-Friendly | No |
| Stable Diffusion | Full customization | Advanced | Yes |
| Runway ML | Video and image editing | Moderate | Optional |
| Face swap apps | Quick insert results | Very Easy | No |
If someone wants maximum control and hyper-realistic outcomes, platforms like Stable Diffusion with custom model training are ideal. For simplicity, tools such as DALL·E or user-friendly apps may be better starting points.
Step 2: Gather High-Quality Reference Photos
The quality of input determines the quality of output. AI systems extract facial structure, lighting cues, and skin texture from the uploaded images.
Best practices for reference images:
- Use high-resolution photos (at least 1024px wide if possible)
- Include neutral expressions and natural lighting
- Avoid heavy filters or obstructions like sunglasses
- Provide multiple angles (front, 45-degree, side profile)
- Ensure the face is clearly visible
For advanced users training a model, 10–20 varied images typically yield better results than just one or two.
Step 3: Decide Between Direct Upload or Model Training
There are two primary approaches to inserting oneself into AI-generated imagery.
Option A: Direct Upload Method
This method involves uploading a single image and instructing the AI to place the subject into a new background.
Example prompt:
“Place this person in a futuristic cyberpunk city at night, neon lights, cinematic lighting, ultra realistic.”
This approach is fast and beginner-friendly but may not perfectly replicate facial consistency across multiple images.
Option B: Custom AI Model Training
Advanced tools allow users to train personal AI models (often called DreamBooth or LoRA models). This process teaches the AI how a specific person looks so it can generate unlimited variations.
Training typically involves:
- Uploading 10–20 labeled images
- Assigning a unique keyword (e.g., “JohnPersonStyle”)
- Running a training session
- Generating new images using that keyword in prompts
This method delivers higher consistency and realism, especially for professional or commercial uses.
Step 4: Write Detailed Prompts
Prompt quality significantly impacts results. AI models rely heavily on descriptive input to determine environment, lighting, camera angle, and mood.
Image not found in postmetaStrong prompt components include:
- Setting (forest, office, Mars colony, runway stage)
- Lighting (golden hour, studio lighting, dramatic shadows)
- Camera style (85mm lens, cinematic, portrait photography)
- Mood (confident, mysterious, joyful)
- Image quality modifiers (ultra realistic, 4K, professional photo)
For example:
“Portrait photo of [custom keyword], wearing a tailored navy suit, standing in a modern glass office, soft natural window light, shallow depth of field, professional headshot, high detail.”
The more specific the input, the more refined the output.
Step 5: Generate and Refine
The first result is rarely perfect. Most AI tools provide regeneration, variation, and editing options.
Refinement techniques:
- Adjust prompt wording
- Increase detail or simplify conflicting elements
- Modify lighting instructions
- Use inpainting to fix specific areas (eyes, hands, background)
- Upscale after achieving a satisfying composition
Inpainting, in particular, allows users to select a specific area of an image and tell the AI to redo only that section. This is useful for correcting distorted facial features or mismatched lighting.
Step 6: Match Lighting and Perspective
One major factor determining realism is lighting consistency. If the background implies sunlight from the right side, the subject’s face must reflect that direction.

To ensure realism:
- Study the direction of shadows
- Align skin tone warmth with scene temperature
- Match camera depth of field
- Adjust blur for distant backgrounds
Many users overlook these subtle details, which is why some AI composites appear artificial.
Step 7: Edit and Enhance
After generating the AI image, additional touch-ups may improve professionalism. Editing software like Photoshop, Lightroom, or built-in AI correction tools can help refine:
- Skin retouching
- Sharpness adjustments
- Color grading
- Background clarity
- Minor distortions
Even small corrections can shift an image from “AI-generated” to convincingly real.
Step 8: Respect Privacy and Ethics
While inserting oneself into AI images is largely safe, certain ethical considerations should be remembered.
- Use only photos you own or have permission to use
- Avoid generating misleading professional documents
- Be cautious when creating realistic depictions
- Understand platform data policies
Some platforms store uploaded data temporarily, while others allow deletion. Reading terms of service is strongly advised.
Common Mistakes to Avoid
- Using low-resolution photos
- Providing inconsistent reference images
- Overloading prompts with conflicting instructions
- Ignoring lighting direction
- Expecting perfect results on the first try
Patience and experimentation are part of the process.
Use Cases for AI Self-Insertion
Once mastered, adding oneself into AI images opens many possibilities:
- Professional headshots
- Fantasy character portraits
- Marketing materials
- Social media branding
- Creative storytelling projects
Professionals, influencers, job seekers, and hobbyists alike benefit from this approach.
Final Thoughts
Adding oneself into an AI image generator is no longer limited to developers or digital artists. With intuitive platforms and step-by-step workflows, nearly anyone can produce impressive results. Success depends on choosing the correct tool, supplying high-quality reference images, writing strong prompts, and refining the output thoughtfully. Over time, users develop an intuition for how AI interprets instructions, dramatically improving outcomes.
FAQ
1. Do I need technical skills to add myself into an AI image generator?
No. Many tools are beginner-friendly and require only photo uploads and basic prompting. Advanced customization may require additional learning.
2. How many photos should be uploaded for best results?
For simple face insertion, one high-quality image may be enough. For custom model training, 10–20 varied photos are recommended.
3. Can AI generate professional headshots?
Yes. With proper lighting prompts and high-resolution references, AI tools can create realistic, studio-quality headshots.
4. Is it safe to upload personal photos?
Safety depends on the platform. Users should review privacy policies and use reputable services that allow data control or deletion.
5. Why does the AI sometimes distort facial features?
Distortions can result from unclear prompts, low-quality input images, or complex backgrounds. Refining prompts and using inpainting tools typically resolves these issues.
6. Can the same trained model be reused later?
Yes. Once a model is trained, it can usually be reused to generate unlimited new images featuring the same individual.
7. Are AI-generated self-images legally usable?
Usage rights vary by platform. Many tools allow commercial use, but users should verify licensing terms before distribution.