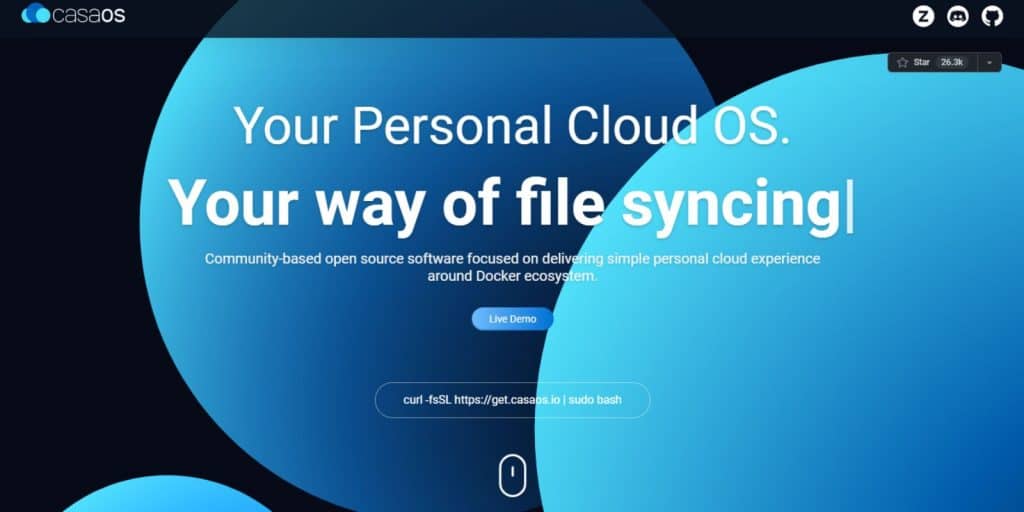
CasaOS is a free, open-source operating system made to manage home servers. It makes tasks like streaming media, sharing files, and managing devices easier while allowing flexibility for setting up networks.
In this guide, we’ll show you how to change ports in CasaOS, why it matters, and how to fix any issues that might come up.
What is CasaOS?

CasaOS is a simple, easy-to-use operating system designed to help users efficiently manage their home servers. It provides easy-to-understand tools for running services, managing apps, and setting up networks. CasaOS uses ports to connect different apps and services to the internet or local networks, allowing smooth communication between devices.
Why Change Ports on CasaOS?
Changing ports in CasaOS may be needed for several reasons:
- Enhance Security: Default ports are common targets for hackers. Changing them makes it harder for unauthorized users to gain access.
- Avoid Port Conflicts: If two services use the same port, it can cause problems. Changing ports prevents these conflicts and ensures everything runs smoothly.
- Control Access: Customizing ports gives you more control over how services are accessed within your network.
How to Change Ports on CasaOS?
Follow these steps to change ports on CasaOS:
1. Access CasaOS Settings
- Log in to your CasaOS interface through a web browser.
- Navigate to the Settings tab, which contains network and system configuration options.
2. Locate the Service or Application
- Identify the service or application you want to change the port for, such as a web server, media server, or other running services.
- Each service typically has a section in the settings menu dedicated to its configuration.
3. Modify the Port
- Enter the configuration section for the service.
- Look for the Port or Network settings.
- Change the port number to your desired value. Be sure to select a port that is not already in use.
4. Save and Apply Changes
- After updating the port, save the configuration.
- Restart the service or application to apply the new port settings.
Advanced Configuration Options in CasaOS
For greater control over your CasaOS setup, try these advanced options:
- Static IP Addresses: Assign a fixed IP address to your server. This makes port forwarding easier and ensures consistent communication within your network.
- Port Forwarding: Set up your router to send external traffic to the new port on your CasaOS. This is important for enabling remote access.
- Custom Application Ports: When running custom services, assign specific ports to avoid conflicts with CasaOS default settings.
Troubleshooting Common Issues
1. Port Not Changing
- Double-check that the new port number is not already in use.
- Restart both the service and CasaOS to ensure the changes take effect.
2. Connectivity Problems
- Verify that your router’s port forwarding rules are correctly set up for the new port.
- Use tools like netstat or nmap to check port availability.
3. Access Denied Errors
- Ensure you have administrative privileges to modify settings in CasaOS.
- Check for firewall restrictions that might block the new port.
Security Considerations When Changing Ports
Changing ports can improve security, but it’s important to follow best practices:
- Use Non-Standard Ports: Avoid using commonly known ports like 80 or 443 for sensitive applications.
- Enable Firewalls: Configure a firewall to allow only trusted connections on the new port.
- Monitor Traffic: Regularly check logs to identify any unauthorized access attempts.
conclusion
Changing ports in CasaOS is a simple yet effective way to enhance security, prevent conflicts, and customize your network. By following the steps outlined in this guide, you can manage your home server efficiently and ensure smooth operation of your services.
