Installing Windows 7 on an NVMe SSD can be tricky due to the lack of native NVMe support in the operating system. However, by integrating the right drivers into your installation USB, you can bypass this limitation and complete the installation process.
This guide will take you through each step to ensure a smooth and successful setup, so you can enjoy your system’s full potential.
What is NVMe and Why Does it Matter?

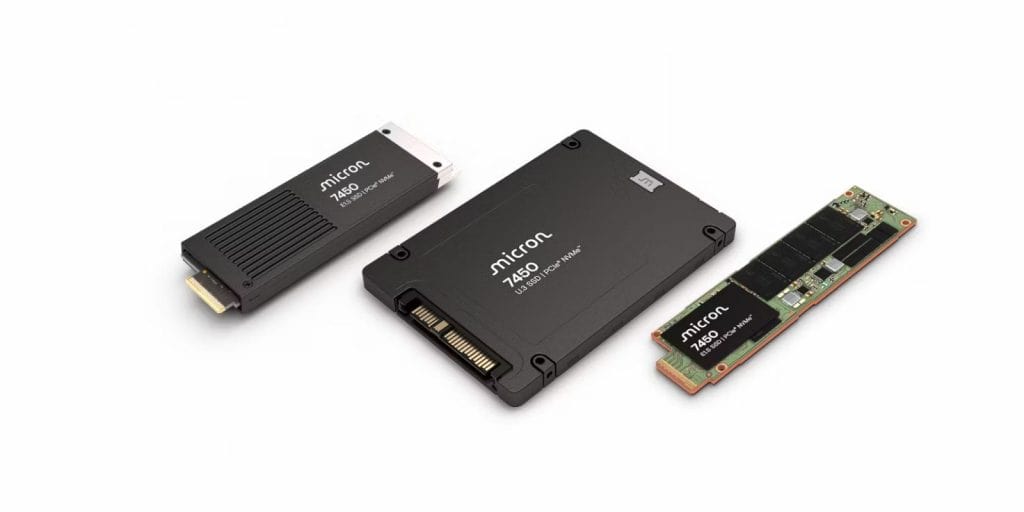
NVMe (Non-Volatile Memory Express) is a high-speed interface designed specifically for SSDs (Solid State Drives). Unlike older protocols like SATA, NVMe offers significantly faster data transfer rates and lower latency. This technology has revolutionized data storage by allowing SSDs to reach their full potential, providing quicker load times and improved overall system performance.
Why Are NVMe Drivers Important?
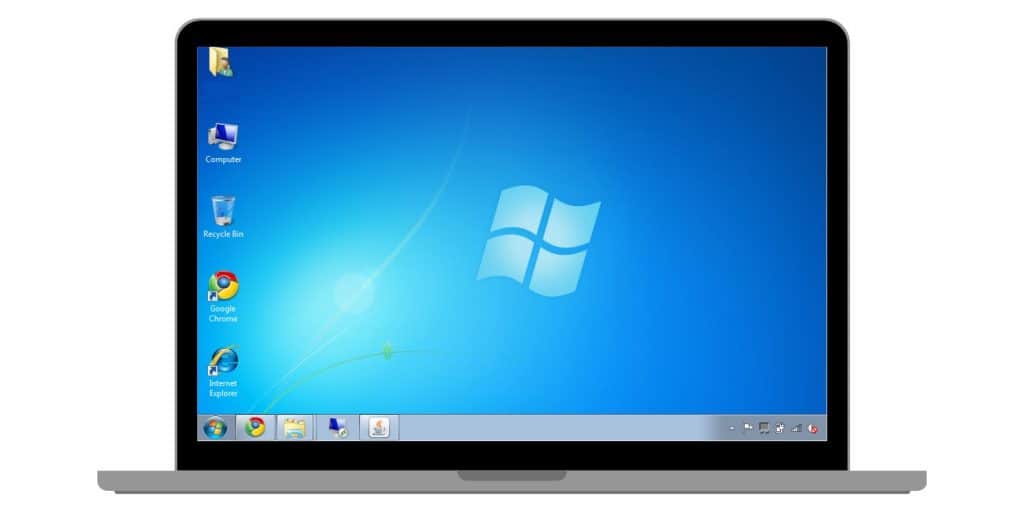
Windows 7, being released before NVMe became widely used, does not have native support for this advanced storage protocol. As a result, without integrating the correct NVMe drivers into the installation media, the operating system will not be able to detect or use NVMe SSDs during setup.
Here is why NVMe Drivers are important:
- Enhanced Performance: NVMe significantly boosts boot speed and overall system performance.
- Driver Requirement: Without the proper drivers, Windows 7 cannot recognize or interact with NVMe drives.
What You Need to Install Windows 7 on an NVMe Drive?
Before you begin the integration process, make sure you have the following tools and resources ready:
- Windows 7 ISO File: Obtain a legitimate copy from Microsoft or your vendor.
- NVMe Drivers: Download the specific drivers for your SSD model from the manufacturer’s website (e.g., Samsung, Western Digital, or Intel).
- DISM Tool: Pre-installed on most Windows systems; used for injecting drivers.
- USB Flash Drive: At least 8GB in capacity, formatted as FAT32 or NTFS.
- Bootable USB Creation Tool: Tools like Rufus or similar software to create a bootable USB drive.
- Compatible System: A computer with UEFI or legacy BIOS that supports NVMe.
Having all these resources ready will ensure a smooth installation process.
Step-by-Step Guide to Install Windows 7 on NVMe SSD

Below are given simple and straightforward steps to Integrate NVMe Drivers into Windows 7 Install USB:
1. Download and Extract NVMe Drivers
Follow these steps to download and prepare your NVMe drivers:
- Visit the Manufacturer’s Website: Go to the official website of your SSD’s manufacturer (e.g., Samsung, Western Digital, Intel).
- Locate the NVMe Driver Section: Find the section dedicated to NVMe drivers for your specific SSD model.
- Download and Extract the Driver: Download the appropriate driver and extract the file to a folder on your computer for easy access.
This will ensure you have the necessary drivers ready for the next steps.
2. Prepare Your Windows 7 ISO
To prepare your Windows 7 ISO for the installation process, follow these steps:
- Mount the ISO or Extract Its Contents: Use tools like WinRAR or 7-Zip to mount the ISO file or extract its contents to a folder on your computer.
- Locate the Required Files: Within the extracted folder, go to the “sources” folder and find the boot.wim and install.wim files.
3. Inject NVMe Drivers Using DISM
Now, it’s time to integrate the NVMe drivers into the boot.wim and install.wim files using the DISM tool. Follow these steps:
- Open Command Prompt as Administrator: Right-click on the Start button and select Command Prompt (Admin).
- Mount the .wim Files: Use the following command to mount the boot.wim file:mkdir C:\mount
DISM /Mount-Wim /WimFile:C:\path\to\boot.wim /Index:1 /MountDir:C:\mountReplace C:\path\to\boot.wim with the actual path to your boot.wim file. - Add the NVMe Drivers: Run the following command to add the drivers:DISM /Image:C:\mount /Add-Driver /Driver:C:\path\to\drivers /RecurseReplace C:\path\to\drivers with the folder containing your downloaded NVMe drivers.
- Commit the Changes and Unmount the Image: After adding the drivers, commit the changes and unmount the image with this command:DISM /Unmount-Wim /MountDir:C:\mount /Commit
- Repeat for install.wim: Repeat the steps above for the install.wim file to ensure the drivers are added to both files.
This will integrate the NVMe drivers into the installation files, making them usable during the setup process.
4. Create a Bootable USB with Modified ISO
Now that you’ve integrated the NVMe drivers, it’s time to create a bootable USB. Follow these steps:
- Use Rufus to Create the Bootable USB:
- Download and open Rufus (or similar software) on your computer.
- Insert your USB drive (minimum 8GB).
- In Rufus, select your USB drive under Device.
- Under Boot selection, select Disk or ISO image and choose the modified Windows 7 ISO file (the one with integrated NVMe drivers).
- Select the Correct Partition Scheme:
- For legacy BIOS systems, select MBR (Master Boot Record) under Partition scheme.
- For UEFI systems, select GPT (GUID Partition Table).
- Transfer the Modified Files:
- Click Start in Rufus to begin the process of creating a bootable USB drive with the modified ISO.
- Rufus will copy the necessary files to the USB, making it bootable.
Once the process is complete, you can use the USB to install Windows 7 on your NVMe SSD with the integrated drivers.
Fixing Common Problems During NVMe SSD Installation
If you encounter issues during the process, here are some common problems and their solutions:
1. NVMe SSD Not Detected
- Check Driver Injection: Make sure that the NVMe drivers were successfully injected into both boot.wim and install.wim files.
- Verify BIOS Settings: Ensure that NVMe support is enabled in the BIOS. Check settings for options like UEFI mode and NVMe configuration.
2. USB Creation Errors
- Format and Space: Double-check that the USB drive is formatted correctly (FAT32 or NTFS) and has enough space for the files.
- Re-download the ISO: If file corruption is suspected, re-download the Windows 7 ISO to ensure it’s intact.
3. Boot Loader Not Found
- Partition Scheme: Confirm that the USB was created with the correct partition scheme. Use MBR for legacy BIOS systems or GPT for UEFI systems.
- Recreate USB: If the boot loader is not found, try recreating the USB drive using Rufus, making sure all settings are correctly aligned with your system’s requirements.
4. Driver Integration Fails
- Check Command Syntax: Review the DISM command for typos or incorrect paths. Even a small mistake can prevent successful driver injection.
- Verify Driver Files: Ensure the NVMe drivers are complete and not corrupted. Download the drivers again if needed to guarantee they’re the latest and in proper condition.
By following these troubleshooting tips, you should be able to resolve common issues and proceed with the installation of Windows 7 on your NVMe SSD.
Tips for a Smooth Windows 7 Installation on NVMe
To ensure a smooth and successful integration process, keep these best practices in mind:
- Backup Your Data: Always back up your important files before making changes to system files, especially when modifying Windows installation media.
- Use Official Drivers: Download and use official NVMe drivers from trusted sources like the manufacturer’s website to avoid compatibility issues.
- Test the Bootable USB: Before starting the installation process, test the bootable USB on another system to ensure it works correctly and boots into the setup environment.
- Update BIOS/UEFI Firmware: Make sure your computer’s BIOS or UEFI firmware is updated to the latest version to ensure compatibility with NVMe and smooth installation.
- Disable Secure Boot: If you’re using UEFI mode, temporarily disable Secure Boot in the BIOS to prevent installation issues with non-signed drivers.
- Use High-Quality USB Drives: Use a high-quality USB drive to reduce the risk of data corruption or failures during the creation of the bootable drive.
By following these best practices, you can minimize risks and improve the success of your Windows 7 installation on an NVMe SSD.
Conclusion
Integrating NVMe drivers into a Windows 7 installation USB may seem daunting at first, but with the proper tools and guidance, it becomes a manageable and straightforward task. This guide has walked you through essential steps, from understanding NVMe drivers to preparing your USB drive and addressing common issues.
By following the outlined process, you can ensure that your system fully supports NVMe SSD technology, unlocking improved performance and reliability. If you encounter difficulties, don’t hesitate to revisit the troubleshooting section for solutions or explore alternative methods for a smoother integration.
Now you’re equipped with everything needed to enjoy the speed and efficiency of NVMe SSDs on your Windows 7 system!

