
A countdown widget is a small but powerful element that shows the time remaining until a specific deadline, launch, event, sale, registration close, or offer expiration. When used honestly, it helps visitors understand urgency, plan action, and avoid missing a real opportunity. The key is to build it accurately, make it easy to read, and ensure it works across websites, landing pages, and email campaigns.
TLDR: To make a reliable countdown widget, define a clear deadline, choose the right format for the channel, and test it across devices before publishing. For a website or landing page, JavaScript can update the countdown in real time; for emails, use a dynamic image or animated GIF because most email clients block scripts. For example, a webinar signup page that added a visible 72-hour countdown before registration closed could reasonably track changes such as a 12% increase in completed registrations and a 9% reduction in abandoned forms, provided the deadline is genuine.
1. Decide What the Countdown Is For
Before writing code or choosing a design, clarify the business purpose of the countdown. A widget should not exist merely to create pressure. It should communicate a real time-sensitive condition.
Common use cases include:
- Product launches: counting down to the moment a product, course, or feature becomes available.
- Sales and promotions: showing when a discount or bonus expires.
- Event registration: reminding users when signups close or when an event begins.
- Booking deadlines: indicating the last chance to reserve a seat, room, or appointment.
- Email campaigns: reinforcing urgency inside a promotional or reminder email.
A serious countdown should always answer three questions: What ends? When does it end? and What should the user do before then? If those answers are unclear, the widget may create confusion rather than action.
2. Choose the Right Countdown Type
There are two main types of countdown widgets: fixed deadline and evergreen.
- Fixed deadline countdown: Ends at the same date and time for everyone. This is best for public launches, event registration, seasonal campaigns, and limited-time sales.
- Evergreen countdown: Starts individually for each user, such as “24 hours after signup.” This is often used in automated funnels, onboarding sequences, and personalized promotions.
For credibility, fixed deadlines are usually simpler and more transparent. Evergreen timers require careful implementation, often using cookies, user accounts, or email automation data to avoid resetting the countdown unfairly every time someone revisits the page.
3. Plan the Widget Content and Layout
A typical countdown includes days, hours, minutes, and seconds. However, more detail is not always better. For long campaigns, seconds may feel unnecessarily aggressive. For a one-hour flash sale, seconds may be useful.
A practical layout might include:
- Headline: “Registration closes soon” or “Offer ends in”
- Timer units: Days, hours, minutes, seconds
- Supporting text: “Complete your signup before the deadline.”
- Call to action: “Reserve your seat” or “Claim the discount”
Use contrast carefully. The timer should be visible, but it should not dominate the page so much that it looks manipulative. For professional pages, a clean design with strong typography, sufficient spacing, and a clear call to action usually performs better than flashing graphics or overly loud colors.
4. Build a Basic Countdown for a Website or Landing Page
For websites and landing pages, the most common approach is to use HTML for structure, CSS for visual styling, and JavaScript for real-time calculation. Below is a simple example you can adapt.
<div class="countdown" data-deadline="2026-12-31T23:59:59Z">
  <p><strong>Offer ends in:</strong></p>
  <div class="timer">
    <span id="days">00</span> days
    <span id="hours">00</span> hours
    <span id="minutes">00</span> minutes
    <span id="seconds">00</span> seconds
  </div>
</div>
<script>
const deadline = new Date(
document.querySelector('.countdown').dataset.deadline
).getTime();
function updateCountdown() {
const now = new Date().getTime();
const distance = deadline - now;
if (distance <= 0) {
document.querySelector('.timer').innerHTML = 'This offer has ended.';
return;
}
document.getElementById('days').textContent =
Math.floor(distance / (1000 * 60 * 60 * 24));
document.getElementById('hours').textContent =
Math.floor((distance / (1000 * 60 * 60)) % 24);
document.getElementById('minutes').textContent =
Math.floor((distance / (1000 * 60)) % 60);
document.getElementById('seconds').textContent =
Math.floor((distance / 1000) % 60);
}
updateCountdown();
setInterval(updateCountdown, 1000);
</script>This example uses a UTC deadline, identified by the Z at the end of the date. Using UTC is often safer than relying on a visitor’s local timezone, especially for global campaigns. If the offer ends at a specific local time, state the timezone clearly near the widget, such as “Ends at 11:59 PM Eastern Time.”
5. Make the Countdown Work Well on Mobile
A countdown widget must be responsive. Many users will see it on a phone, especially if they arrive from social media, search ads, or email links. Test the design at narrow widths and avoid forcing all timer units into one cramped row.
Good mobile practices include:
- Use large, readable numbers.
- Keep labels short, such as “Days” instead of long descriptions.
- Place the call to action close to the timer.
- Avoid covering content with sticky countdown bars unless they can be dismissed.
- Maintain strong color contrast for readability.

6. Make a Countdown for Emails
Email countdowns require a different approach. Most email clients do not allow JavaScript, so a website-style live timer will not work inside an email. Instead, use one of these methods:
- Dynamic countdown image: The email loads an image generated by a server at the time the recipient opens the message. This image shows the remaining time.
- Animated GIF: A pre-rendered animation that counts down for a limited duration, usually suitable for short windows.
- Static deadline banner: A simple image or text block stating the deadline, such as “Ends Friday at midnight.”
A dynamic image is usually the most accurate option, but it depends on images being displayed. Some recipients disable images by default, so emails should also include plain text that states the deadline. For example: “The offer ends on March 15 at 11:59 PM Pacific Time.”
Also remember that users may open an email after the deadline. The linked landing page should handle this properly by showing an expired message, removing invalid offers, or redirecting users to a relevant alternative.
7. Add Expiration Behavior
A countdown is incomplete if nothing happens when it reaches zero. Decide in advance what the user should see after expiration.
Possible expiration actions include:
- Replace the timer with “This offer has ended.”
- Disable the purchase or registration button.
- Redirect to a waitlist page.
- Show the next available event date.
- Remove promotional pricing and display standard pricing.
This step is important for trust. If the timer reaches zero and the offer remains available without explanation, users may assume the urgency was artificial. That can damage credibility and reduce future conversions.
8. Track Performance Responsibly
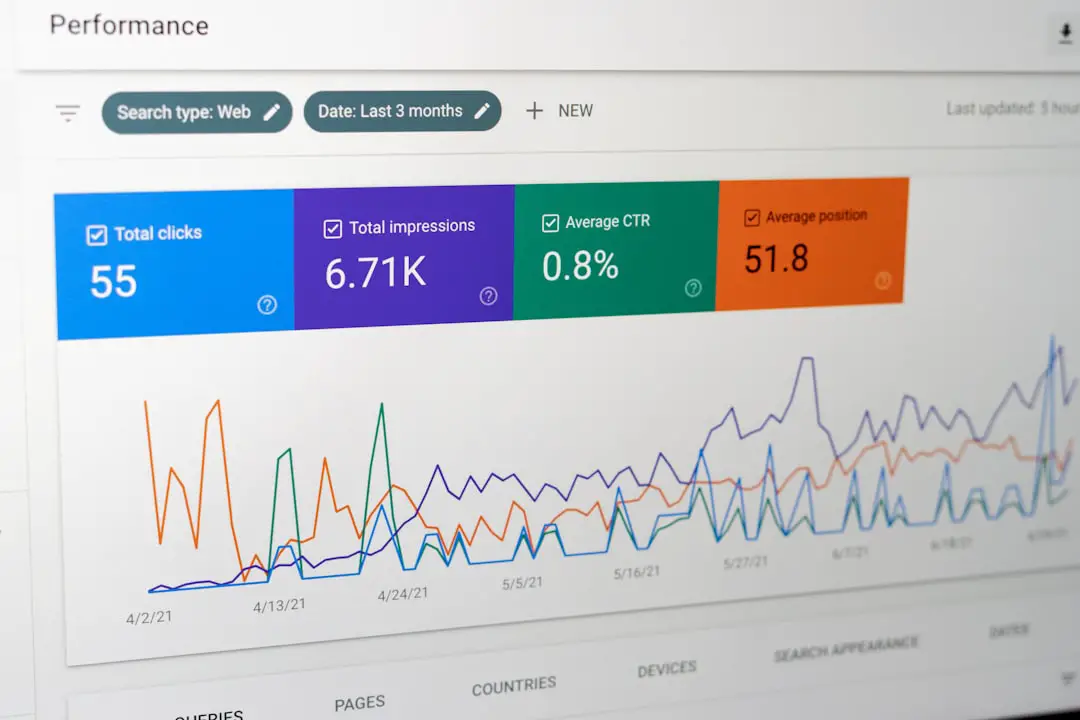
To understand whether the countdown helps, measure its impact. Avoid relying on assumptions. Compare performance before and after implementation, or run an A/B test where one version includes the countdown and another does not.
Useful metrics include:
- Conversion rate: Purchases, registrations, bookings, or signups.
- Click-through rate: Especially from landing page sections or email campaigns.
- Form completion rate: Whether urgency helps users finish a process.
- Bounce rate: Whether the countdown discourages users or feels too aggressive.
- Revenue per visitor: For ecommerce and paid offers.
For example, if a landing page receives 10,000 visits in two weeks and the conversion rate rises from 3.1% to 3.6% after adding a countdown, that represents 50 additional conversions. However, evaluate quality as well as quantity. If refunds, unsubscribes, or complaints increase, the countdown may be too forceful or poorly aligned with user expectations.
9. Follow Accessibility and Trust Guidelines
A countdown should be understandable for all users, including people using assistive technology. Avoid rapidly flashing elements, provide text labels, and do not rely on color alone to communicate urgency. If the timer updates every second, consider whether screen readers might announce changes too frequently. In many cases, it is better to make the visual timer update continuously while keeping nearby explanatory text stable.
Trust also depends on truthful presentation. Do not reset a fixed deadline when the user refreshes the page. Do not claim that a discount is ending if it will continue indefinitely. Scarcity and urgency can be effective, but only when they are based on real conditions.
Conclusion
Making a countdown widget is not just a technical task; it is a communication decision. A good countdown tells users exactly how much time remains, what action they need to take, and what will happen when the deadline passes. For websites and landing pages, JavaScript provides a straightforward way to create a live timer. For emails, dynamic images or clear deadline messaging are more dependable. When the design is readable, the deadline is honest, and the results are measured carefully, a countdown widget can support conversions without compromising trust.