

Printing a Word document might seem like a basic task, but there’s more to it than simply hitting the “Print” button. Whether you’re preparing a professional report, a school assignment, or a flyer, understanding how to properly print your document ensures that your work looks polished and intentional. This guide will walk you through everything you need to know about printing a Word document effectively and efficiently.
The Basics: Opening and Preparing Your Document
The first step, of course, is to open your document in Microsoft Word. Review the content to ensure it’s final and free of errors. Make sure elements like margins, font size, images, and spacing are properly adjusted for print readability.
- Click on the File tab in the upper left corner of the window.
- Select Print from the vertical menu.
- You will now be able to preview your document before printing.
Understanding the Print Settings
Once you’re in the print preview mode, you’ll encounter a host of settings that can greatly affect the outcome of your printed document. Here’s what you need to pay attention to:
- Printer Selection: If you have more than one printer installed, choose the correct one from the dropdown list.
- Number of Copies: Specify how many copies you need.
- Pages to Print: Choose whether you want to print the entire document, selected pages, or a custom range.
- Page Orientation: Select either Portrait or Landscape. This affects how your content fits on the page.
- Paper Size: Make sure the document is set to the correct paper size, such as A4 or Letter.
- Margins: Use default settings or customize margins to suit your needs.
Before hitting print, take a second to double-check the preview screen. A quick glance can catch issues like misplaced images or text being cut off. This step can save both paper and frustration.
Advanced Options: Customizing Your Print Layout
Microsoft Word offers a range of advanced options to help you control exactly how your document appears on the page. Some of these include:
- Manual Duplex Printing: If your printer doesn’t support double-sided printing, you can still do it manually by printing odd pages first, then reinserting the paper to print even pages.
- Collated vs. Uncollated: Choose collated to print complete sets of your document—ideal for handouts.
- Printing in Draft Quality: Save ink or toner if you’re just printing a practice copy.
Tips for Trouble-Free Printing
Printer issues can disrupt your flow. Here’s how to avoid common pitfalls:
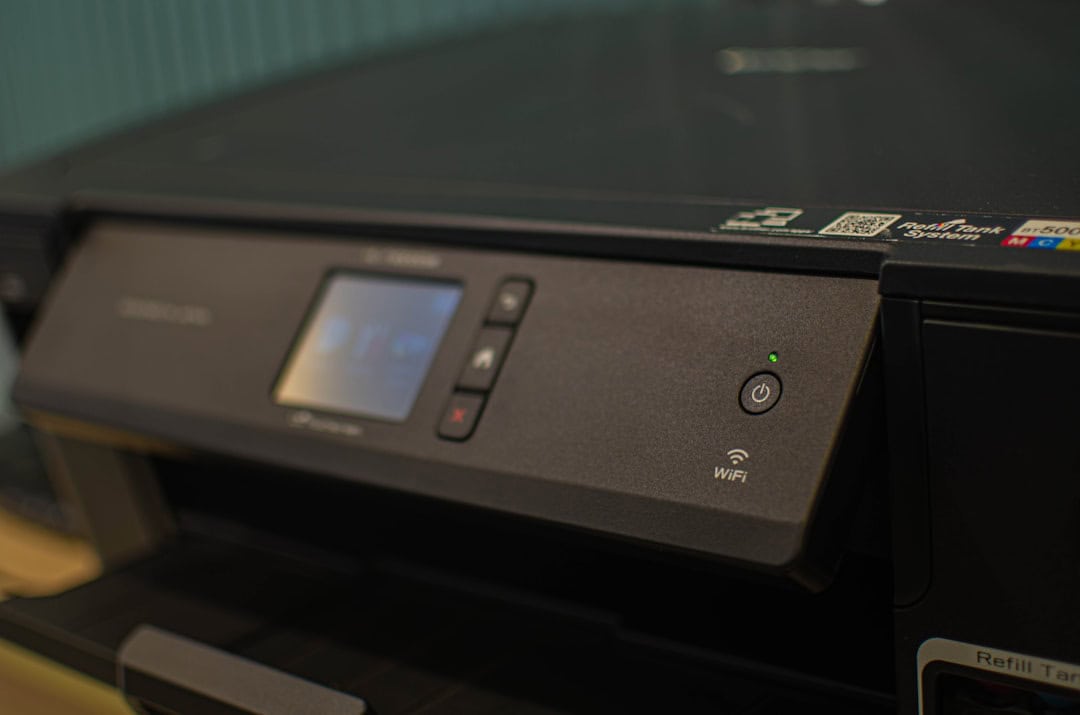
- Check Printer Status: Ensure the printer is powered on and connected to your computer or network.
- Update Printer Drivers: Outdated drivers can cause misprints or failed print jobs.
- Use Print Preview: Always use the built-in preview feature to catch layout or formatting errors in advance.
- Save as PDF: For complex layouts or to preserve formatting, export your document as a PDF before printing.
How to Print from Mobile Devices
In today’s fast-paced world, printing from mobile devices is increasingly common. If your printer supports WiFi or Bluetooth:
- Open the document using the Microsoft Word app or any compatible app on your mobile device.
- Tap the share or options icon and select Print.
- Choose your printer and adjust settings as needed before finalizing the print job.
This method is convenient when you’re on the go or working in a shared office space without access to a computer.
Final Thoughts
Printing a Word document can be as simple or as customized as you need it to be. By understanding the features and settings available, you ensure that your document prints exactly the way you envision it. Whether you’re dealing with a one-page letter or a hundred-page report, the right preparation and attention to detail make all the difference.
So next time you open that “File” tab, remember: knowledge is your best tool for a perfect print.