
Restoring your Mac to factory settings can be a great way to get a fresh start, especially if you’re experiencing slowdowns, bugs, or preparing to sell or give away your device. However, doing a factory reset without proper preparation can lead to loss of valuable files, photos, and documents. The good news? You can restore your Mac to its original setup without losing your important data—if you take the right steps.
In this guide, you’ll learn how to safely reset your Mac while making sure all your data is preserved. Follow the steps carefully and you’ll have a clean Mac that still holds onto everything that matters to you.
Step 1: Back Up Your Data
This is the most crucial step before doing anything else. Restoring to factory settings means erasing your internal hard drive completely, so ensuring your data is backed up is essential.
You can use the following methods:
- Time Machine: This is Apple’s built-in backup system. It backs up your entire system and is easy to recover from later.
- iCloud: For documents, photos, and app data, iCloud may already be backing up key elements without you realizing it.
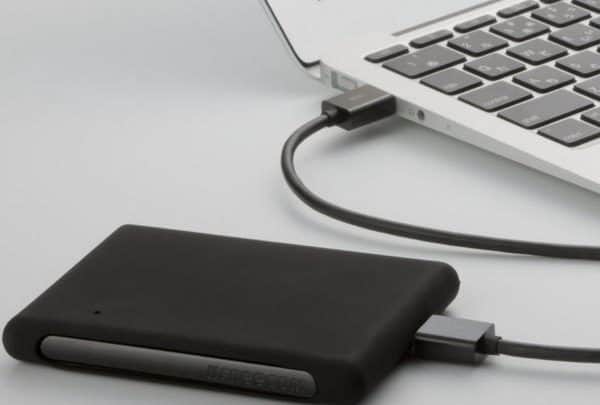
- External Drive: Manually copy your important files to an external hard drive or USB stick.
Make a checklist of everything you want backed up—photos, documents, browser bookmarks, applications, and so on.


Step 2: Sign Out of Your Accounts
To ensure your Mac is fully disassociated from your Apple ID and ready for a factory reset, you’ll need to sign out of several services:
- iCloud: Go to System Preferences > Apple ID > Overview and click Sign Out.
- iMessage: Open the Messages app, go to Preferences > iMessage, and sign out.
- iTunes & App Store: If you’re running macOS Mojave or earlier, open iTunes, go to Account > Authorizations > Deauthorize This Computer.
This step is especially important if you intend to sell or give away your Mac.
Step 3: Boot into Recovery Mode
Once you’ve backed up your data and signed out of all vital accounts, it’s time to begin the actual reset process. Here’s what you need to do:
- Shut down your Mac completely.
- Power it back on and immediately hold down Command + R until the Apple logo appears. This will boot your Mac into Recovery Mode.

Step 4: Erase the Hard Drive
Once in Recovery Mode, follow these steps to erase all data:
- Select Disk Utility from the options shown and click Continue.
- Choose your startup disk (usually called “Macintosh HD”).
- Click Erase at the top of the Disk Utility window.
- Use APFS or Mac OS Extended (Journaled), depending on your macOS version, and then select Erase.
Once that completes, you’ve wiped the Mac clean and it’s ready to be reinstalled with macOS.
Step 5: Reinstall macOS
After erasing the hard drive, exit Disk Utility to return to the main recovery screen. Now, click on Reinstall macOS and follow the prompts. Make sure you’re connected to Wi-Fi, as the installation files will be downloaded from Apple servers.
The reinstallation may take some time, so be patient.
Step 6: Restore Your Data
After reinstalling macOS, your system will boot and begin setup like a brand-new Mac. During the setup process, you’ll be asked if you want to transfer information from a Time Machine backup or another source. Here is your chance to bring back your data:
- Select your Time Machine backup if you used it.
- Or, choose to skip this step and restore data manually later by copying it from your external drive or downloading from iCloud.


Final Thoughts
Doing a factory reset on your Mac can make it feel brand new again. Whether you’re trying to speed up your system or preparing it for resale, following these steps will help you do it without losing any of your precious data. Just remember: backup is everything. With a little planning, your digital life will stay intact, and your Mac will be sparkling like new.