Minecraft may not always use a dedicated graphics card, leading to low FPS and lag. Many laptops come with an integrated GPU (like Intel UHD) and a dedicated GPU (such as NVIDIA GeForce or AMD Radeon). Windows may assign Minecraft to the integrated GPU by default to save power.
This guide explains how to force Minecraft to run on the dedicated GPU for better performance.
Why Minecraft May Not Use the Dedicated GPU?
Minecraft can default to the integrated GPU due to:
- Power-saving settings that prioritize battery life.
- Windows Graphics settings assign Minecraft to the wrong GPU.
- Outdated drivers prevent the system from detecting the dedicated GPU.
- Incorrect settings in NVIDIA or AMD control panels.
If Minecraft runs on the integrated GPU, performance will suffer. The dedicated GPU handles rendering better, leading to higher FPS and smoother gameplay.
How do you check if Minecraft is using the dedicated GPU?
Before making changes, confirm which GPU Minecraft is using.
1. For Windows Users:
- Task Manager: Open Task Manager (Ctrl + Shift + Esc), go to the “Performance” tab, and check the GPU usage under “GPU 0″ (integrated) and “GPU 1” (dedicated).
- Windows Graphics Performance Monitor: Press Win + G to open the Xbox Game Bar and check GPU activity.
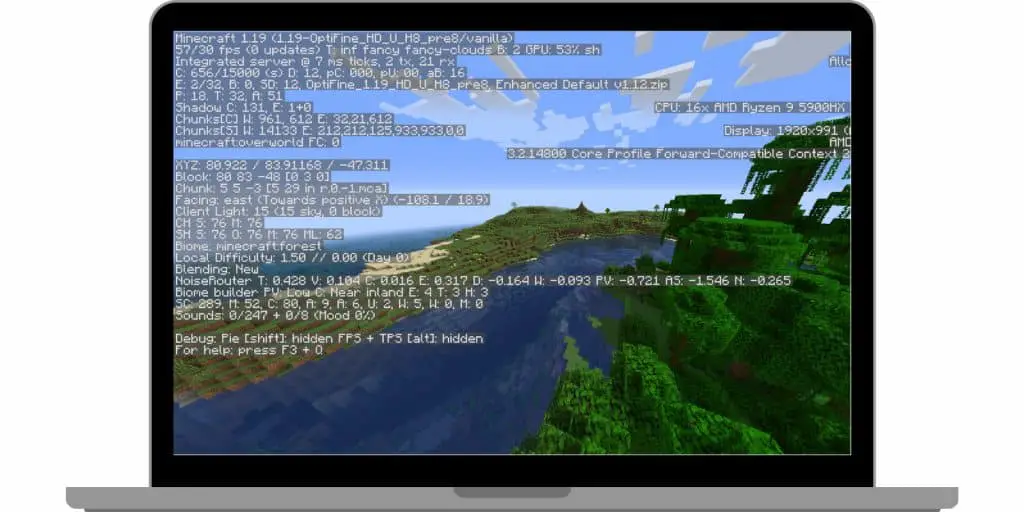
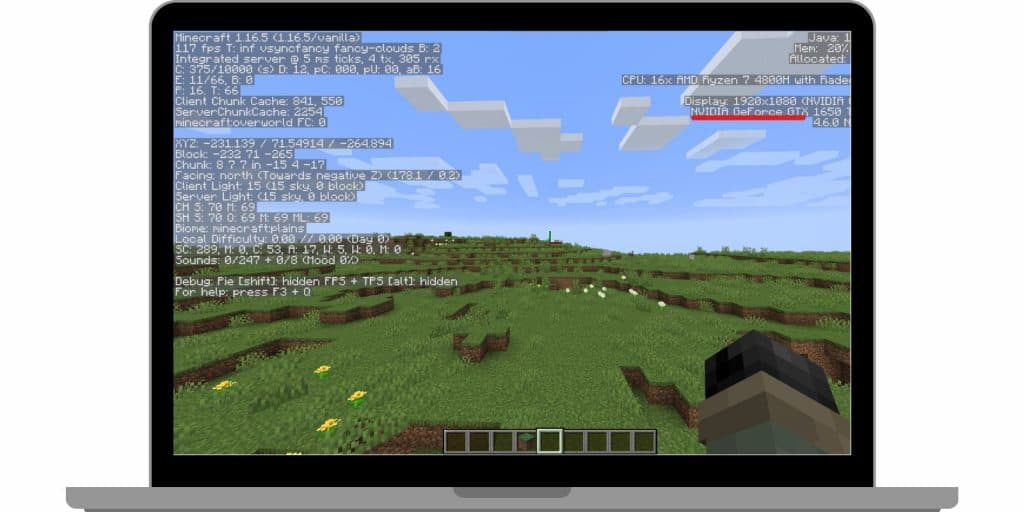
2. Minecraft Java Edition:
- Press F3 while in-game. Look for “GPU” in the debug screen. If it shows Intel UHD or something similar, Minecraft uses the integrated GPU.
3. macOS and Linux Users:
- Check GPU activity in “Activity Monitor” on macOS under the “Energy” tab.
- On Linux, run
glxinfo | grep "OpenGL renderer"in the terminal to see which GPU is active.
How do you force Minecraft to use the dedicated GPU?
Minecraft may not always run on the dedicated GPU, which can lead to lower FPS and poor performance. Windows may assign it to the integrated graphics by default to save power. To ensure smoother gameplay and better visuals, you must manually set Minecraft to use the dedicated GPU.
Follow these steps to ensure your system prioritizes the more powerful graphics card.
1. Windows Graphics Settings
- Open Settings > System > Display > Graphics settings.
- Click Browse, locate
javaw.exe(for Java Edition) orMinecraft.exe(for Bedrock Edition). - Select High Performance, which assigns the dedicated GPU.
2. NVIDIA Control Panel
- Opthe en NVIDIA Control Panel (right-click on the desktop).
- Go to Manage 3D Settings > Program Settings.
- Select Minecraft (
javaw.exeorMinecraft.exe). - Under Preferred graphics processor, choose High-performance NVIDIA processor.
3. AMD Radeon Settings
- Open AMD Radeon Software.
- Navigate to Graphics > Switchable Graphics.
- Locate Minecraft and set it to High Performance.
Restart Minecraft after applying changes.
Minecraft Java vs. Bedrock GPU Performance
Minecraft has two main versions: Java Edition and Bedrock Edition, each handling GPU and CPU resources differently.
-
Java Edition relies more on the CPU for processing game logic, world generation, and physics calculations. While a dedicated GPU improves performance, the game’s optimization limits how much the GPU can enhance FPS. Java Edition benefits more from a strong processor and increased RAM. However, enabling OptiFine and adjusting graphics settings can help offload some tasks to the GPU for better performance.
-
Bedrock Edition is designed to be more GPU-dependent and optimized for smooth performance across multiple platforms, including consoles and mobile devices. It uses hardware acceleration, making it run efficiently even on lower-end hardware. As a result, Bedrock Edition generally achieves higher FPS and better stability on the same system than Java Edition.
A dedicated GPU is essential for Java Edition if you want higher graphical fidelity with shaders and mods. Bedrock Edition uses GPU power better for smoother performance without much tweaking.