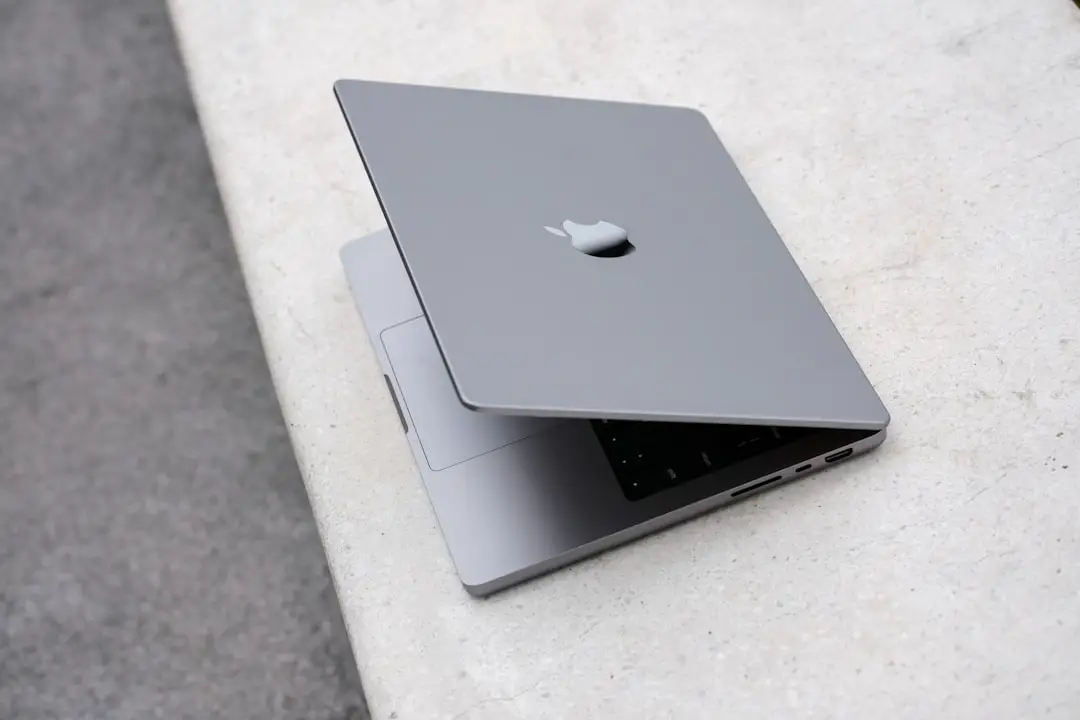
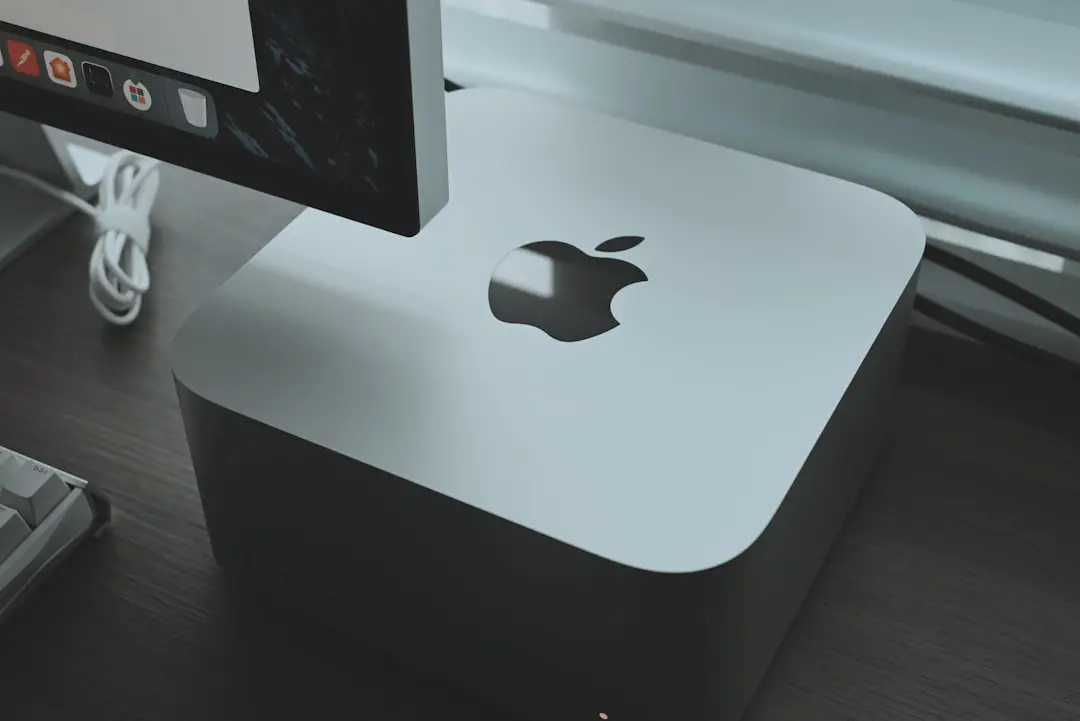
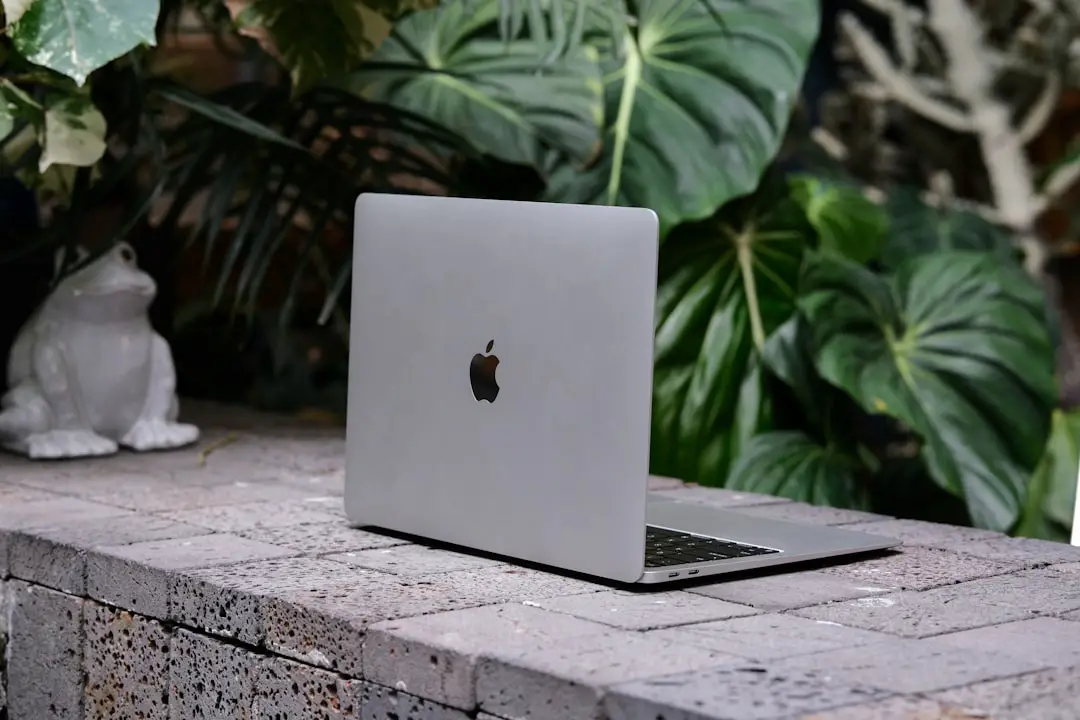
Ready to give your Mac a fresh upgrade? macOS Sierra is packed with cool new features and a sleeker performance. From Siri on your desktop to better storage management, it’s a no-brainer! In this simple guide, we’ll walk through how to update your Mac and enjoy all the goodies Sierra has to offer.
Why Upgrade to macOS Sierra?
Before we dive in, here’s why you should consider the update. macOS Sierra brings several nifty features you’ll love:
- Siri on Mac: Yep, your favorite voice assistant is finally on the desktop!
- Auto Unlock: Unlock your Mac with your Apple Watch. No typing needed.
- Universal Clipboard: Copy on iPhone, paste on Mac. Crazy simple.
- Optimized Storage: Free up space by storing old files in iCloud.
- Apple Pay: Buy things online with a click and a fingerprint.

Check Compatibility First
Not all Macs can handle Sierra. Here’s a quick checklist to make sure your device is good to go:
- MacBook (Late 2009 or newer)
- MacBook Air (2010 or newer)
- MacBook Pro (2010 or newer)
- Mac mini (2010 or newer)
- iMac (Late 2009 or newer)
- Mac Pro (2010 or newer)
To find your model, click the Apple logo in the top-left corner and choose About This Mac.
Back It Up Before You Update
This step is super important. Just in case something goes wrong, you’ll want a full backup of your data. Use Time Machine to make a backup:
- Connect an external hard drive.
- Click the Apple icon > System Settings > Time Machine.
- Turn it on and back it up.
All set? Sweet. Time to roll!
Download macOS Sierra
Getting the update is easy if you follow these steps:
- Open the App Store on your Mac.
- Search for macOS Sierra.
- Click Download.
- Once it’s done, the installer will open automatically.
If it doesn’t open, just go to your Applications folder and double-click it there.
Install the Update
Now comes the exciting part! The installer will guide you through everything:
- Click Continue.
- Agree to the terms and conditions (yes, we know).
- Select your hard drive.
- Click Install and grab a cup of coffee! ☕
Your Mac will restart a few times during installation. Don’t panic. It’s just doing its thing.

After the Install
Welcome to Sierra! But before you start playing around, do a few quick checks:
- Log in to iCloud. It connects all the great new features.
- Go to System Settings and update any new preferences.
- Check the App Store for updates to your favorite apps.
Cool Things to Try First
Now for the fun part—see what your new setup can do!
- Ask Siri: Say “Hey Siri” (or click the icon) and try some fun commands.
- Use Universal Clipboard: Copy text on your iPhone and paste it on your Mac!
- Manage Storage: Go to About This Mac > Storage > Manage to clean up files easily.
Troubleshooting Tips
Ran into a glitch? No worries. Here’s what to try:
- Update stuck? Restart your Mac and try again.
- Wi-Fi not working? Turn it off and on. Or reset your router.
- System slow? Let Spotlight finish indexing. It’ll speed up soon.
If bigger problems pop up, check Apple’s support site or visit the Genius Bar.
Enjoy Your New OS!
That’s it! Your Mac now has a fresh layer of awesome with macOS Sierra. Play around with the features, talk to Siri, and get used to the new vibe. Your digital life just got smarter, faster, and a lot more fun.

