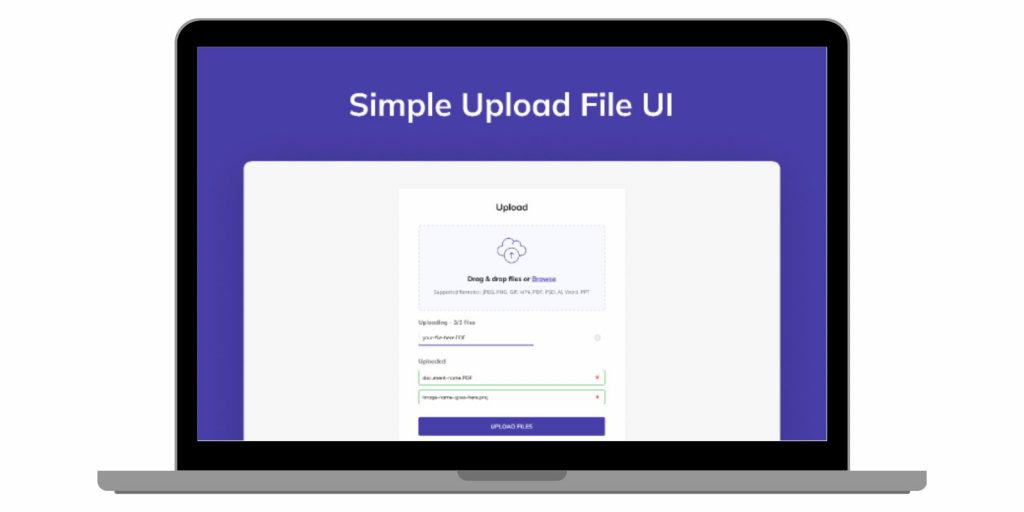
Figma is a popular cloud-based design and collaboration tool that supports a wide range of file imports. Whether you’re integrating external assets, collaborating on a project, or transferring designs from other software, uploading files to Figma is a key part of the workflow. This guide walks you through the process of uploading files to Figma, supported formats, and how to troubleshoot common issues.
Why Upload Files to Figma?
Uploading files to Figma provides several benefits for designers and collaborators:
- Integration of External Assets: Easily import images, graphics, or designs created in other tools for seamless integration into your Figma projects.
- Collaboration: Shared files ensure that team members can access and work on designs collectively in real time.
- Streamlined Workflow: Centralize all project assets in one platform, reducing the need to switch between multiple tools.
By uploading files to Figma, you can enhance productivity and maintain project consistency.
Supported File Formats in Figma
Figma supports a variety of file types, making it versatile for different design needs. Here are the most common formats you can upload:
- Image Files: PNG, JPG, GIF, and SVG.
- Document Files: PDF files can also be imported into Figma.
- Design Files: Files from tools like Sketch (.sketch), Adobe XD (.xd), and Photoshop (.psd).
Note: Figma does not natively support certain file types, such as proprietary CAD files or certain vector formats. Convert unsupported files to a compatible format before uploading.
Steps to Upload Files to Figma

Uploading files to Figma is simple and can be done using various methods depending on the file type:
Step 1: Open Your Figma Project
Log in to your Figma account and open the project or workspace where you want to upload files. Ensure you have the necessary permissions to edit the file.
Step 2: Drag and Drop Files
For most file types (e.g., PNG, JPG, or SVG):
- Drag the file from your computer directly onto the Figma canvas.
- The file will automatically appear as an editable object in your project.
Step 3: Use “Place Image” for Images
To insert an image file with precise placement:
- Go to the File menu in Figma.
- Select Place Image and browse for the desired file on your computer.
- Click Open and position the image on the canvas.
Step 4: Import Design Files
For design files from tools like Sketch or Adobe XD:
- Click on File > Import in the Figma interface.
- Select the file to upload.
- Figma will convert the file into an editable format compatible with its interface.
Step 5: Organize Uploaded Files
After uploading, organize the files into layers, groups, or frames for better project management. Use descriptive layer names to maintain clarity.
Editing Uploaded Files in Figma
Once files are uploaded, you can edit them directly in Figma. Here are some key editing features:
- Resizing and Cropping: Resize or crop images to fit your design requirements.
- Adjusting Layers: Add uploaded files to specific layers or frames for better organization.
- Vector Editing: For SVG files, you can edit paths, shapes, and colors within Figma.
However, note that non-Figma-native files like PDFs or Photoshop files may have limited editing capabilities.
Troubleshooting Common Issues
Below are some common problems you may encounter and practical solutions to resolve them effectively:
Unsupported File Format
- Problem: The file cannot be uploaded due to incompatibility.
- Solution: Convert the file to a supported format (e.g., PNG or SVG) using design tools or online converters.
Upload Errors
- Problem: The file fails to upload, often due to large size or network issues.
- Solution: Reduce the file size or check your internet connection before attempting again.
Poor File Quality After Upload
- Problem: Uploaded images appear pixelated or blurry.
- Solution: Use high-resolution files to maintain quality in Figma.
Conclusion
Uploading files to Figma is a simple yet powerful feature that enhances collaboration and streamlines the design process. By understanding supported formats, following the correct upload steps, and organizing your files effectively, you can make the most of Figma’s capabilities. Troubleshooting tips ensure smooth file management, making Figma an indispensable tool for modern design workflows.
Have questions or additional tips about uploading files to Figma? Share them in the comments below! If you found this guide helpful, feel free to share it with your team.

