
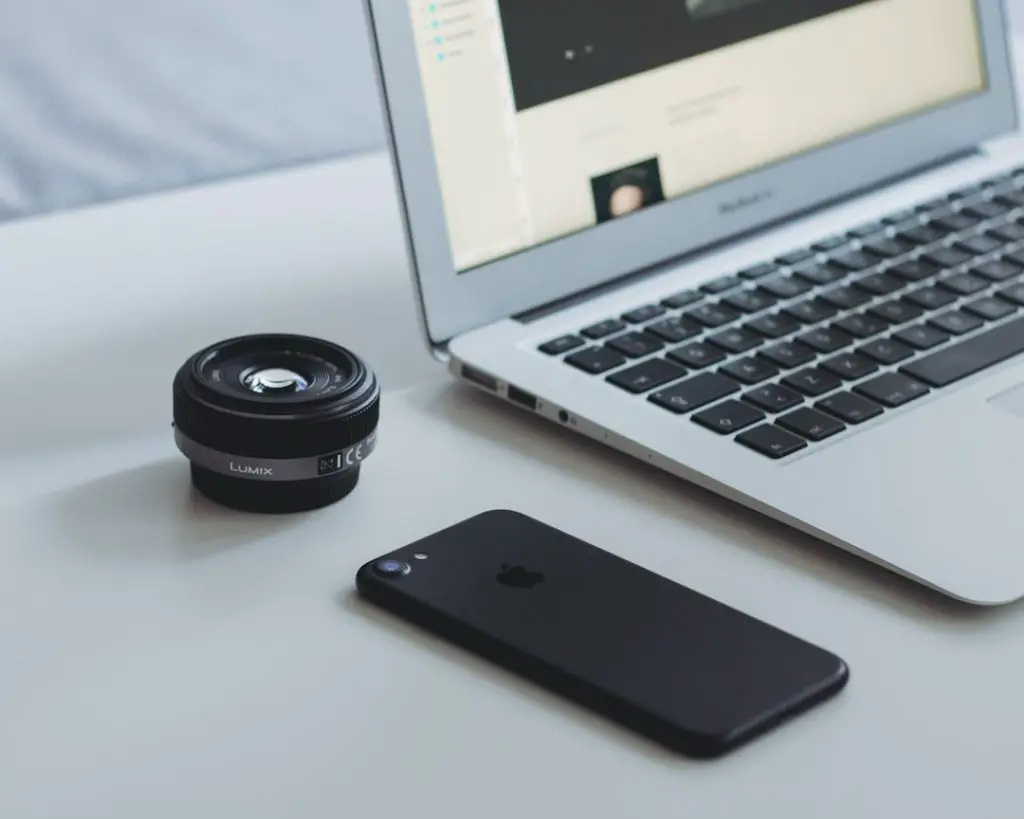
Editing video from multiple cameras can feel like solving a big puzzle. You’ve got different angles, different frames, and a thousand split-second choices to make. But don’t worry! With a little know-how, you can match your shots and hit those key frames like a pro.
Let’s break it all down into simple steps, and keep it fun along the way.
What Are Multi-Camera Edits?
Multi-camera editing means combining footage from two or more cameras. Think of a talk show. There’s one camera on the host, one on the guest, and maybe one showing the whole set. Each camera gives a different angle. When edited together smoothly, they make the show dynamic and engaging.
Now imagine if the cuts were off. The host’s words don’t match their lips, or the guest’s reaction happens too early. Oops! That’s what we aim to avoid.
Key Frames: The Building Blocks of Edits
Key frames are like landmarks in your video timeline. They mark the most important moments—maybe a laugh, a dramatic pause, or someone raising an eyebrow. When we zone into key frames, we focus on those golden moments where changes really matter.
Matching different camera shots around these key frames creates a seamless experience. Done right, viewers won’t even notice the camera has changed!
Why Matching Shots Matters
If one camera shows someone turning their head, and another shows them already looking the other way—cue the confusion. Poorly matched shots break the rhythm. Let’s keep the flow going by staying synced around those key frames.
Here’s why matching is important:
- Continuity: Everything feels like it’s happening in real time.
- Emotion: Viewers stay connected to the story and characters.
- Energy: Smart cutting can make a scene feel alive and exciting.
Zoning In: How to Match Shots Correctly
Ready to take control of your edit? It all starts with careful observation and a few basic tools.
1. Mark Your Key Frames
Play your footage and drop markers at moments that matter. Look for:
- Laughter or applause
- Gestures or actions
- Emotional responses
These moments are your anchors. If you cut from one camera to another during a neutral frame, the change will feel natural.
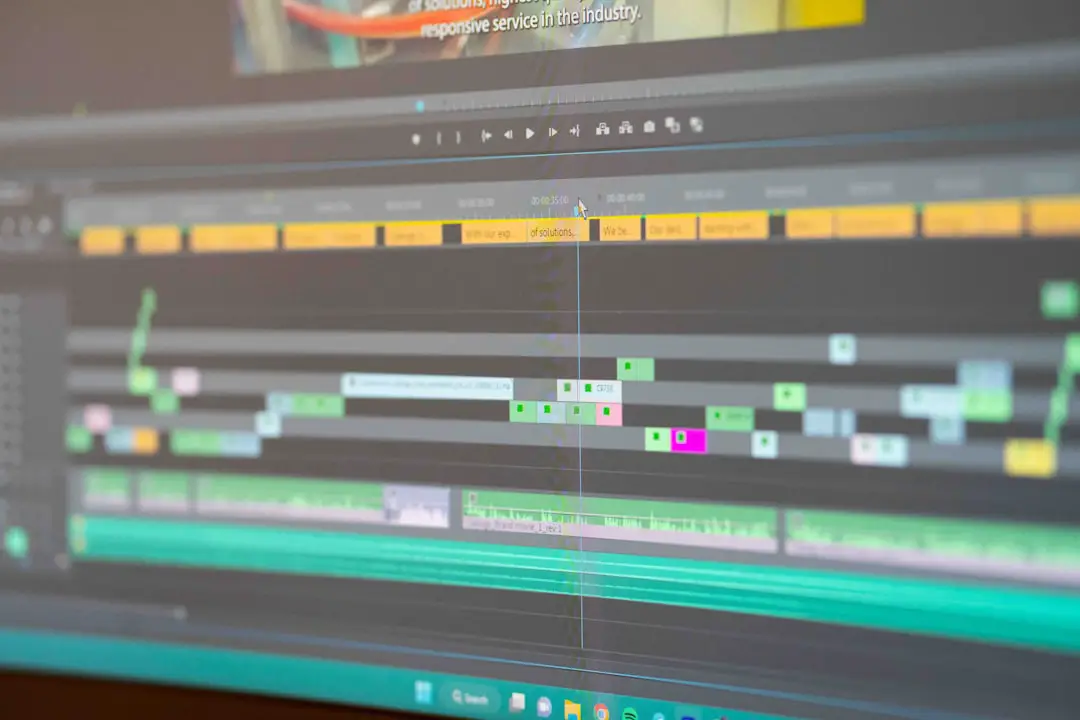
2. Sync Your Clips
Most editing software lets you sync clips using audio. This is like stacking your footage so all the shots are aligned in time. You can also use manual syncing based on claps or visual cues.
Once synced, each clip becomes part of a timeline puzzle. Your job is to pick the best piece at each moment.

3. Think Like a Director
Why would a real-world director switch to a new camera?
- To emphasize a reaction
- To show a different point of view
- To add drama or pace
Use the same logic. Don’t switch cameras just for fun. Each cut should have a reason.
4. Match Action Across Edits
This one’s crucial. Let’s say your host claps. If one shot ends mid-clap, and the next begins after the hands already meet, the scene will feel wrong. Always match points of motion, facial expressions, or audio events when switching angles.
Speed Tips for Smoother Matches
Want to get faster? Here are some pro tips to help you nail those cut points:
Use Waveforms
Audio waveforms show you spikes in volume. These often match laughs, claps, or loud voices—perfect for syncing and framing shots.
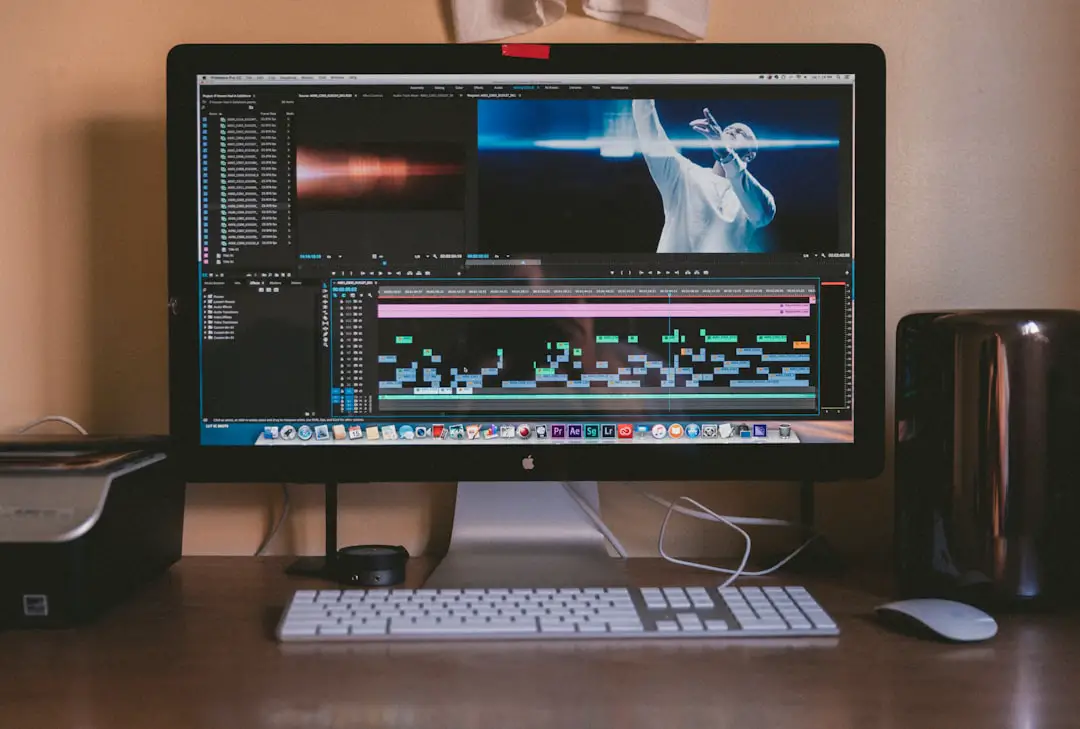
Shortcut Keys are Your Friends
Learn the hotkeys for switching between clips in your editing software. Programs like Adobe Premiere Pro or Final Cut Pro let you switch on-the-fly. Faster cuts = more time to fine-tune later.
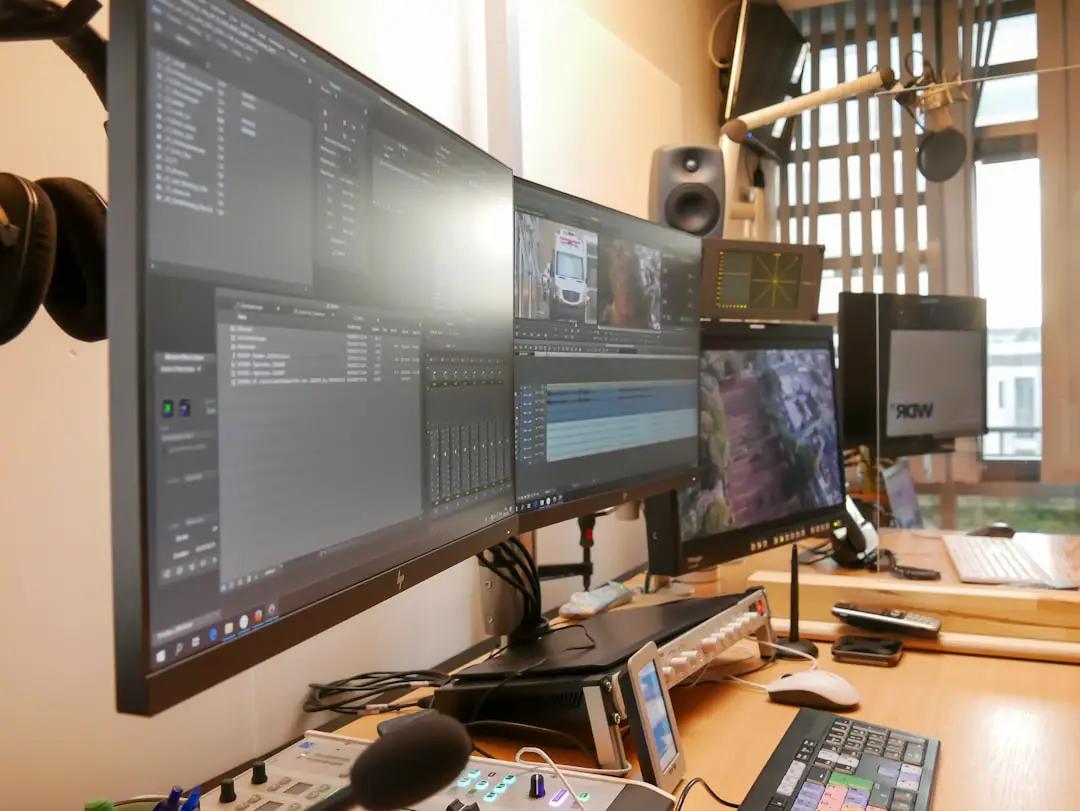
Use a Multicam Monitor
This tool lets you see all your angles at once, live. You can choose shots like a control room director would during a live broadcast.

Common Pitfalls (And How to Dodge Them)
Even the best editors stumble sometimes. Here’s how to avoid some classic mistakes:
1. Cutting During Movement
When someone blinks or turns, don’t cut right in the middle. Wait until the movement is complete or start a new clip just as it begins. This helps the action flow better.
2. Jump Cuts
If two shots are from slightly different angles of the same person, the viewer might think the video skipped. Make sure there’s enough difference between the two shots, or insert a buffer shot of something else entirely.
3. Camera Shakes and Focus Swaps
Check all your shots for stability and focus. If one camera is shaky while another is still, switching between them will feel distracting. Keep only the cleanest shots.
Bonus: Adding Transitions with Style
You don’t always need fancy transitions. Sometimes a straight cut is best. But when you want flair, use it wisely.
Here are a few solid options:
- Dissolves: Good for moving between time or tone changes
- Wipes or Slides: Fun for creative edits or lighter content
- Whip Pans: Great for energetic transitions
But don’t overdo it! Sometimes less really is more.
Tools to Help You Zone In
Editing software keeps getting smarter. Here are a few features you should absolutely explore:
- Markers: Set these on key moments you want to return to.
- Color Coding: Use different colors for different camera angles.
- Split View: View multiple cameras without switching back and forth constantly.
- Zoom: Get closer to the timeline to make frame-accurate cuts.

Practice Makes Perfect
No one becomes a great editor overnight. The more you practice, the better you’ll get at seeing the perfect points to cut. The trick is to trust your instincts—but also watch your work back. If something feels off, it probably is. Tweak it until it feels smooth.
Final Takeaway
Multi-camera editing is about rhythm. It’s about matching shots that make sense, feel natural, and keep the viewer engaged. When you match your edits to key frames, you create flow. You tell your story in a way that feels alive.
So go ahead, dive into those clips, zone in on your key frames, and start cutting like a pro. Your audience may never notice how seamless it is—but that’s the magic of a great edit!