

In today’s digital era, resizing images is a common task for web developers, designers, marketers, and casual users alike. Whether it’s for social media, websites, emails, or presentations, image resizing is crucial for optimizing load times and ensuring a consistent viewing experience. However, one of the main concerns when resizing is the loss of image quality. The good news is that with the right techniques and tools, it’s possible to resize images effectively without compromising on clarity or sharpness.
Understanding Image Resizing
When resizing an image, you’re either increasing (upscaling) or decreasing (downscaling) its dimensions. This process may seem simple, but it involves recalculating pixel data, which can lead to blurring, pixelation, or artifacts if not done properly. Understanding the difference between raster and vector images is also essential:
- Raster Images: Comprised of pixels (e.g., JPEG, PNG, GIF). Resizing can affect quality.
- Vector Images: Made up of paths. They can be resized without loss of quality (e.g., SVG, EPS).
Tips to Resize Images Without Losing Quality
Here are some expert tips that can help you resize images without compromising on quality:
- Always start with the highest resolution image available. Starting with a large image gives the software more pixel data to work with during resizing.
- Choose the right format. For example, PNG is better for images with transparency or sharp edges, while JPEG works best for photographs.
- Use bicubic or bilinear resampling methods in professional software like Photoshop, which calculates pixel values with more clarity.
- Opt for vector graphics if resizing is frequent. Logos and icons in vector format scale flawlessly.
- Avoid multiple resizing steps. Each resizing may reduce the image’s quality. Resize once to your target dimensions when possible.

Popular Tools for Resizing Images Without Quality Loss
With countless image editing tools available, finding the right one often depends on your skill level and specific use case. Below are some top tools for different user levels:
Professional Tools
- Adobe Photoshop: Offers advanced image scaling algorithms like Preserve Details 2.0. Allows precise control over quality settings.
- GIMP (GNU Image Manipulation Program): A free, open-source tool offering high-quality resampling settings, including Lanczos for reducing images.
- Affinity Photo: A powerful and affordable alternative to Photoshop with advanced resizing and retouching options.
Online Tools
- ResizeImage.net: Simple interface for resizing without much technical knowledge. Keep quality settings to ‘High’ for best results.
- Pixlr: A web-based image editor offering advanced features similar to Photoshop with teen-friendly UI.
- Let’s Enhance: Uses AI-based technology to upscale images while preserving details. Ideal for low-resolution photos.
Batch Image Resizing Tools
- IrfanView: Lightweight and powerful batch editing capabilities. Best for resizing multiple images with saved presets.
- XnConvert: Supports over 500 formats and allows batch processing with high-quality algorithms.
- FastStone Photo Resizer: Offers simple batch resizing with options to maintain quality.
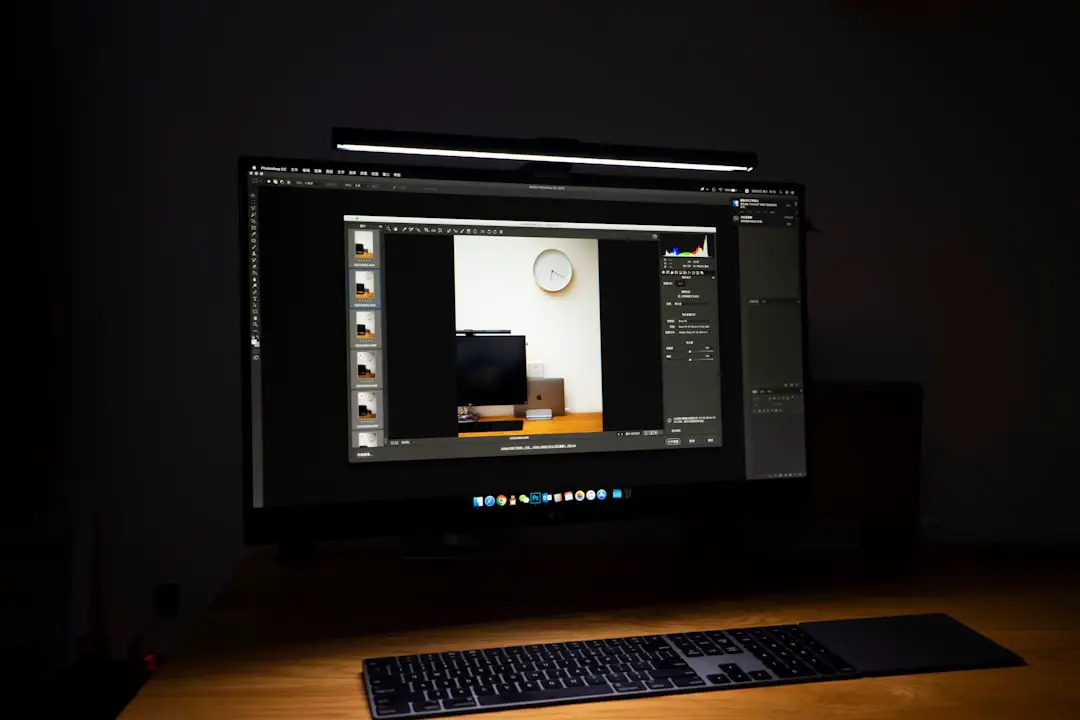
Step-by-Step Guide: Resizing without Quality Loss in Photoshop
Photoshop is a favorite among professionals for its precision and flexibility. Here’s a simple process to resize an image:
- Open your image in Photoshop.
- Go to Image > Image Size.
- Ensure Resample is checked.
- Select Preserve Details 2.0 in the resample dropdown menu.
- Adjust width and height as needed.
- Use the Reduce Noise slider if necessary to smooth out any imperfections.
- Click OK to apply changes.
This method balances retention of fine details with minimal noise or artifacts.

Best Practices for Web Use
When resizing images for web use, preserving quality while reducing file size is critical for SEO and performance reasons. Consider the following:
- Use exact dimensions needed on the webpage. Avoid automatic resizing by the browser as it consumes more bandwidth.
- Use compression tools like TinyPNG or ImageOptim after resizing to reduce file size without impacting quality visually.
- Choose appropriate formats: WebP for general use, JPEG for photos, PNG for transparent needs.
AI Tools for Smart Upscaling
Recent innovations in artificial intelligence have transformed how image upscaling works. AI-based tools can intelligently add detail, remove blur, and enhance edges while resizing:
- Topaz Gigapixel AI: Renowned for using machine learning to upscale images up to 600% while restoring lost quality.
- Let’s Enhance: Great for improving images for print, e-commerce, or social content with stunning results.
- VanceAI Image Enlarger: Easy-to-use, automatic AI-powered tool for enlarging images without artifacts.
These tools are especially effective for photographers and designers looking to transform small, low-resolution images into full-size, high-quality visuals.
Conclusion
Resizing images without losing quality used to be a daunting challenge, but today, a combination of smart practices and powerful tools have simplified the process considerably. Whether you’re a web designer, marketer, or everyday user, applying the right methods and choosing the ideal software ensures your visuals never lose their brilliance. With AI-assisted platforms entering the mix, enhancing images to look their best at any size has never been easier.
Frequently Asked Questions (FAQ)
- Q: Will resizing an image reduce its quality?
A: It can, especially when enlarging. However, using the right tools and settings can help preserve or even enhance quality. - Q: What is the best image format for resizing?
A: JPEG is common for general use, but PNG and WebP offer higher quality for web usage. Vector formats like SVG are best for icons and logos. - Q: Which tool do professionals use to resize images?
A: Adobe Photoshop is preferred by professionals for its advanced scaling options, though GIMP and Affinity Photo are strong alternatives. - Q: How do AI tools improve image resizing?
A: AI tools like Topaz Gigapixel AI analyze image patterns and intelligently recreate pixels during upscaling, resulting in less blur and more clarity. - Q: Can I resize multiple images at once?
A: Yes, tools like IrfanView, XnConvert, and FastStone Photo Resizer support batch resizing with quality controls.