
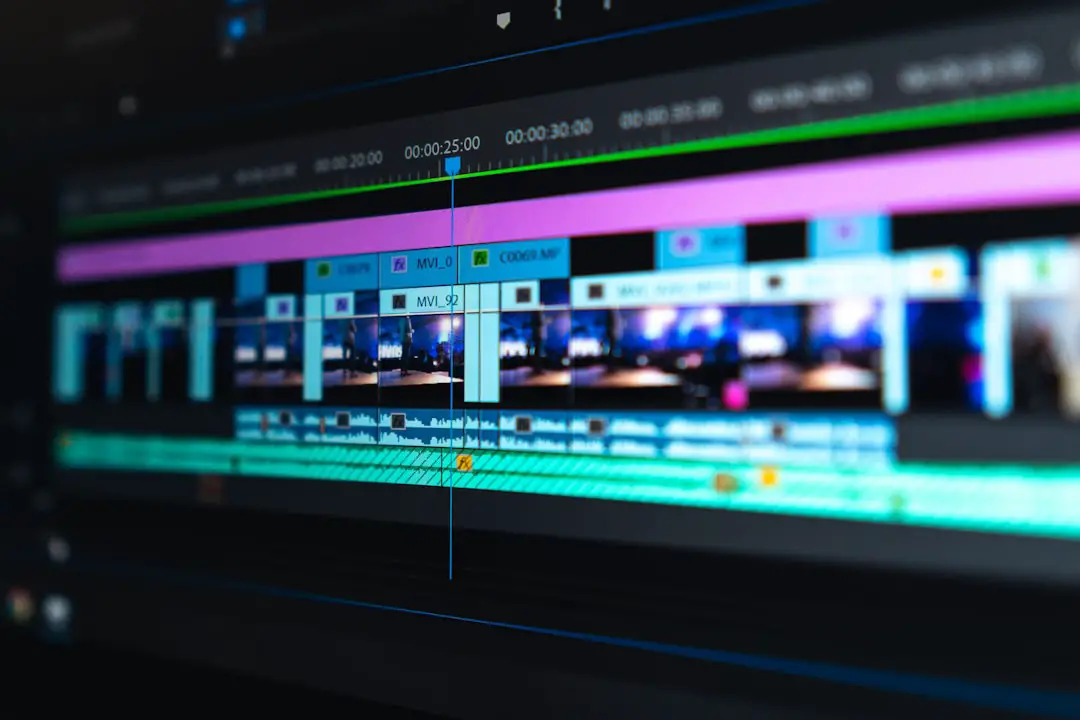
A Build_Video.sh script should turn repeatable video creation into one command, not another mystery file that only works on one laptop. It usually wraps tools such as FFmpeg, ImageMagick, Python, audio processors, subtitle generators, and file checks into a clear build chain. When structured well, it saves hours. When written badly, it fails at minute 19 of a render and gives nobody a useful reason.
TLDR: A Build_Video.sh script automates video assembly by running repeatable steps such as asset checks, audio syncing, rendering, compression, and export naming. For example, a small content team producing 40 product clips per week could cut manual editing prep by 60% by using one script to generate drafts from images, captions, and voiceovers. The best scripts use clear variables, strict error handling, logs, and predictable folder paths. Most failures come from missing files, broken permissions, codec issues, or hardcoded paths.
What a Build_Video.sh Script Usually Does
A Build_Video.sh file is a shell script used to automate video production tasks. It is often run from a terminal with a command such as ./Build_Video.sh. Its job is simple: take input assets and produce a video file with minimal manual work.
Common tasks include:
- Checking source files, such as images, clips, audio, music, logos, and subtitles.
- Creating folders for temporary files, renders, logs, and exports.
- Calling FFmpeg to stitch clips, trim footage, add overlays, mix audio, or compress output.
- Generating title cards or text overlays from templates.
- Exporting final files in formats such as MP4, MOV, or WebM.
- Cleaning up temporary frames and cache files after success.
The script may be tiny, or it may run a full production workflow. A simple version might combine one audio file with one background image. A larger version might create 100 short videos from a CSV file.

Why Video Teams Use These Scripts
Manual video production gets boring fast. The same resize, trim, label, export, and rename tasks repeat again and again. A script removes that drag.
A marketing team might use Build_Video.sh to create social clips from podcast audio. An education company might use it to add intros, lower thirds, and captions to training videos. A developer might use it to prepare demo recordings for release notes.
The real gain is consistency. Every output can share the same resolution, bitrate, loudness target, watermark, and naming pattern. That matters when a workflow grows from five videos per month to five hundred.
Honestly, it feels like many video tools hide basic export settings behind too many panels. A shell script puts those settings in plain text. That makes review easier. It also makes mistakes easier to catch.
Typical Script Structure
A strong Build_Video.sh script often follows a predictable order. This structure makes it easier for another person to read and fix later.
- Shebang: The first line often reads
#!/usr/bin/env bash. It tells the system which shell to use. - Strict mode: Many scripts include
set -euo pipefail. This stops the script when commands fail, variables are missing, or pipelines break. - Configuration: Paths, file names, output size, bitrate, and frame rate are set near the top.
- Input checks: The script confirms that required files and tools exist before rendering starts.
- Build steps: The script runs each video task in order.
- Logging: Output goes to the terminal or a log file for later review.
- Cleanup: Temporary files are removed only after success.
A clean script might define values like this:
INPUT_DIR="assets"
OUTPUT_DIR="dist"
WIDTH=1920
HEIGHT=1080
FPS=30
BITRATE="5000k"
Those variables are better than scattering values across twenty commands. If the output must change from 1080p to 720p, the editor changes one section, not the whole file.
How the Automation Workflow Fits Together
A common workflow starts with asset collection. The script then checks whether the files exist. If one logo is missing, the script should stop early. Nobody wants to wait eight minutes just to learn that logo.png was misspelled.
Next, the script may convert assets into a common format. Clips may be normalized to the same frame rate. Audio may be converted to WAV. Images may be resized to match the canvas.
Then the main render begins. FFmpeg might combine video, audio, subtitles, and overlays. After that, the script may create smaller versions for social platforms. For example, it could export:
- 1920×1080 for YouTube.
- 1080×1080 for square feeds.
- 1080×1920 for vertical stories.

Finally, the script names the output with a date, project ID, or version number. Good names prevent chaos. Bad names like final2_really_final_new.mp4 cause pain later.
Common Troubleshooting Techniques
The most common failure is permissions. If the terminal says Permission denied, the file may not be executable. The fix is usually:
chmod +x Build_Video.shAnother common issue is a missing dependency. If ffmpeg: command not found appears, FFmpeg is not installed or not in the system path. On macOS, many teams install it with Homebrew. On Linux, it may come from the package manager.
Path errors are also frequent. A script written on one machine may rely on paths such as /Users/alex/videos. That breaks for everyone else. Relative paths such as ./assets are often safer inside project folders.
The catch is that Shell scripts can fail quietly if error handling is weak. A failed intermediate step may still let the script continue. Then the final video is blank, silent, or ten seconds long. That is maddening, and it can add 18 to 30 seconds of pointless rerun time per test on larger files.
Good troubleshooting habits include:
- Run commands one at a time to find the exact failure point.
- Add echo statements before major commands.
- Write logs with timestamps and command output.
- Check file names carefully, especially spaces and uppercase letters.
- Use quotes around variables, such as
"$INPUT_FILE". - Test with short media before rendering long files.
Codec, Audio, and Subtitle Problems
Codec mismatch causes many strange failures. A file may play in one editor but fail in FFmpeg. The script should standardize inputs where possible. H.264 video with AAC audio in an MP4 container remains a common safe export for web use.
Audio sync can also drift. This often happens when clips use different sample rates or variable frame rates. A script can reduce risk by converting inputs first. For voiceover-heavy workflows, the team may set audio to 48000 Hz and video to a fixed 30 fps.
Subtitles bring their own problems. Bad character encoding can break accented letters. Long caption lines may cover graphics. A solid script validates subtitle files and places them only after the main video size is known.
Best Practices for Maintainable Scripts
A useful Build_Video.sh script should be boring in the best way. Names should be clear. Steps should be numbered or grouped. Config should sit near the top. Risky commands should print what they are about to do.
Teams should avoid hardcoded personal paths. They should also avoid deleting folders without checks. A cleanup line like rm -rf "$TMP_DIR" needs care. If $TMP_DIR is empty due to a typo, damage can follow.
Version control helps. Changes to bitrate, intro files, fonts, and export presets should be reviewed like code. A small README also helps new users run the script without guessing.
FAQ
What is Build_Video.sh?
It is a shell script used to automate video building tasks, often through tools such as FFmpeg and other command-line utilities.
Why does Build_Video.sh say permission denied?
The script may not be executable. Running chmod +x Build_Video.sh often fixes that issue.
Can Build_Video.sh run on Windows?
Yes, but it usually needs a Unix-style shell through WSL, Git Bash, or a similar environment.
What tool is most often used inside video build scripts?
FFmpeg is the most common tool because it can trim, encode, convert, combine, and inspect media files.
How can a team make the script safer?
It can use strict mode, input checks, quoted variables, logs, and clear folder rules. It should also test with short sample files before full production renders.