
Starting up a site is hard work with many factors to consider before you’ve got the finished product. Of course, you could offload all that work to someone, but that usually comes with a high cost. If you opt for doing the work yourself, however, then we’re here to help.
The general guidelines can be applied to any type of site, but you’ll get the most out of the guide if you’re using it for photography. Without further ado, let’s dig in…
Registering a domain and choosing a hosting service
The very first thing you’ll need to do is register your domain name and figure out your hosting service. The domain name naturally needs to be unique and not already in use. In case you’re not sure what to use, there are services that can help you out. By inputting keywords, you’ll get back available domain names from which you can then choose the perfect one. Checking it this way shouldn’t even touch your budget since there are numerous services that offer this for free.
Choosing a good domain name is one of the pillars that make a successful site, it should be fluent, catchy, easy to remember, but also at the same time different enough to stand out in a sea of similarity. After all, you have to take into account how it will be featured on search engines, and everyone wants those first-page results. Be sure to take your time and come up with something with a heft that will serve you a long time.

Once you’ve settled on a name, it’s time to choose a hosting service where your site will be housed. Now here, there are a whole plethora of options available to you, from limited free options to premium ones that will cover basically all aspects of managing your site. Since this is the place you’ll be uploading all your elements, including your hi-res images that are the backbone of the site, you’ll need something with servers strong enough to support everything you plan on doing. That includes both storage space and traffic flow, ideally where you won’t be caped in either.
We have to point out that when we were going through our guide, the idea was that hosting would take up the biggest part of the budget. Like we’ve said, there are numerous options out there that can fit into any budget, but considering what else is there to go through and what options you’ll have in other aspects of the site, you shouldn’t try to save money on hosting by downgrading the quality of the service.
In any case, once you’ve made your choice, just follow the instructions that will be provided to you, and you’ll be ready for the next step in no time.
Installing WordPress
The second step is pretty simple and self-explanatory. Namely, you need a platform on which you will build your site, and currently, there is simply no better option than WordPress. WordPress is free, easy to use, and because of its open-source nature, you’ll have millions of plugins that will help you optimize your site to function just like you want it to.

We’ll get into more detail about what to use and how to set up your site through WordPress on the backend. For now, however, simply installing it should be enough – as we said, a really straightforward, quick, and easy step.
Announce going live
Now, this step could be considered optional, but it is one that can go a long way in ensuring the word about your site spreads before it’s even live. We’re talking about a Coming soon page, of course. By creating a page that advertises your site even before you’ve set everything up to go live ultimately, you’re creating an environment where your domain will become recognized and featured in search results, thereby gathering you potential visitors from the bat.
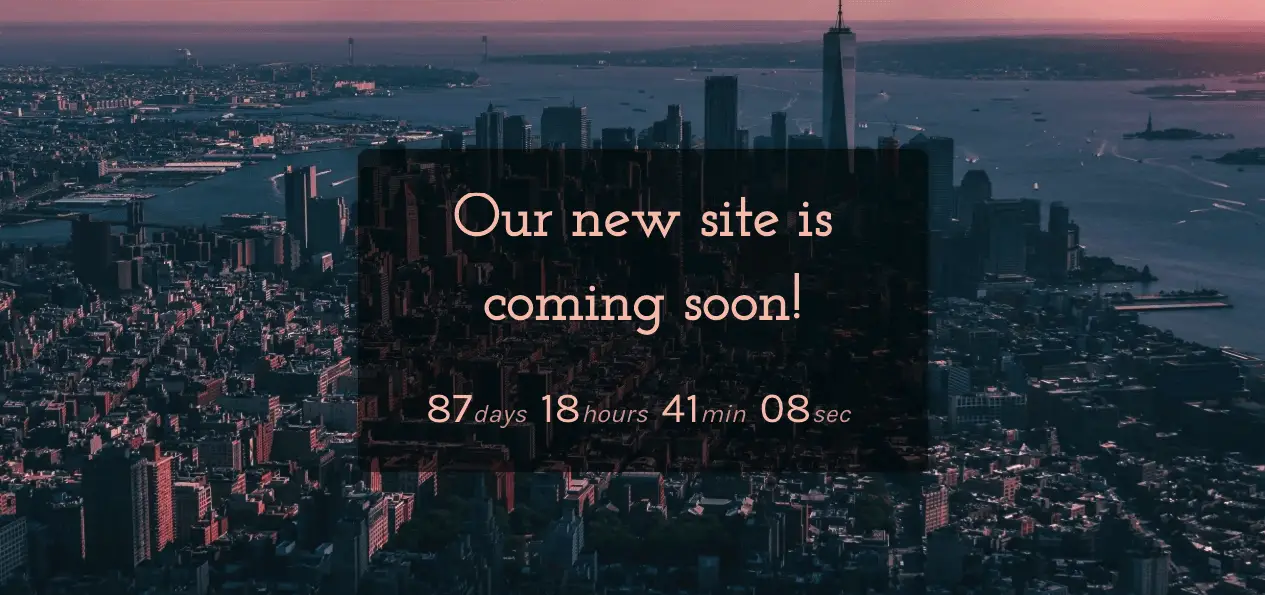
Just like pretty much everything else regarding WordPress, the possibilities here are endless. There are numerous options, both free and premium, and we’ve come to single out Coming soon and maintenance mode plugin as one of the best around. It’s really easy to use with over 100 pre-made themes that you can further customize, and over a million images, you’ll get to use. A plugin like this can create the perfect placeholder for the final product and essentially get the hype going, so once you do go live, you’ll hit the ground running.
Choose and set up a theme
A photography site is by its nature visual, so you need to put extra care into choosing a theme that will be the perfect shell for your images. The term “everything is not for everyone” can’t be overstated here since much of what you want is actually tightly connected to the style of your photography. Before we start naming them specifically, it’s important to note that all themes we’re going to mention, share some characteristics that are by now the industry standard, such as responsiveness, SEO and speed optimization and compatibility with other plugins and apps. We point this out now so that we don’t have to repeat ourselves for every theme we cover.
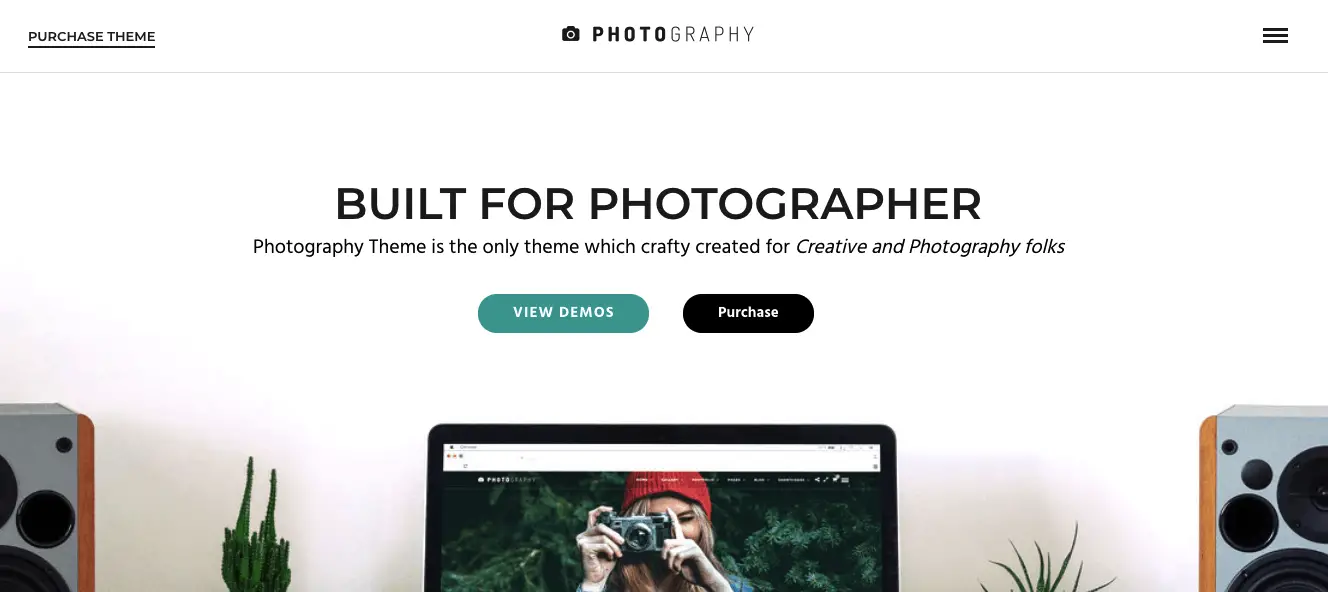
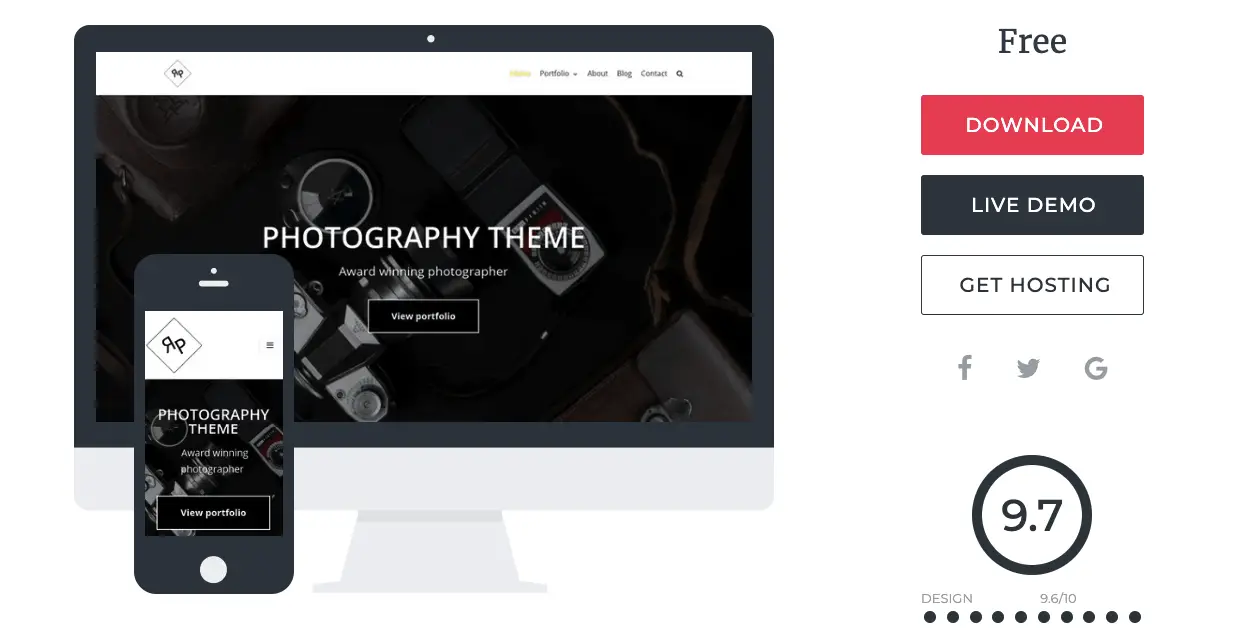
Going by purely the numbers, the Photography theme is the most used one on the platform. Being mainstream doesn’t automatically mean it’s the best quality-wise; however the vast number of satisfied customers speaks for itself. It’s probably the complete theme we’ll mention with numerous options for both the site/page appearance and the way you can display your images. Going through it to the tiniest detail, we simply couldn’t find anything that we would need that isn’t already present.
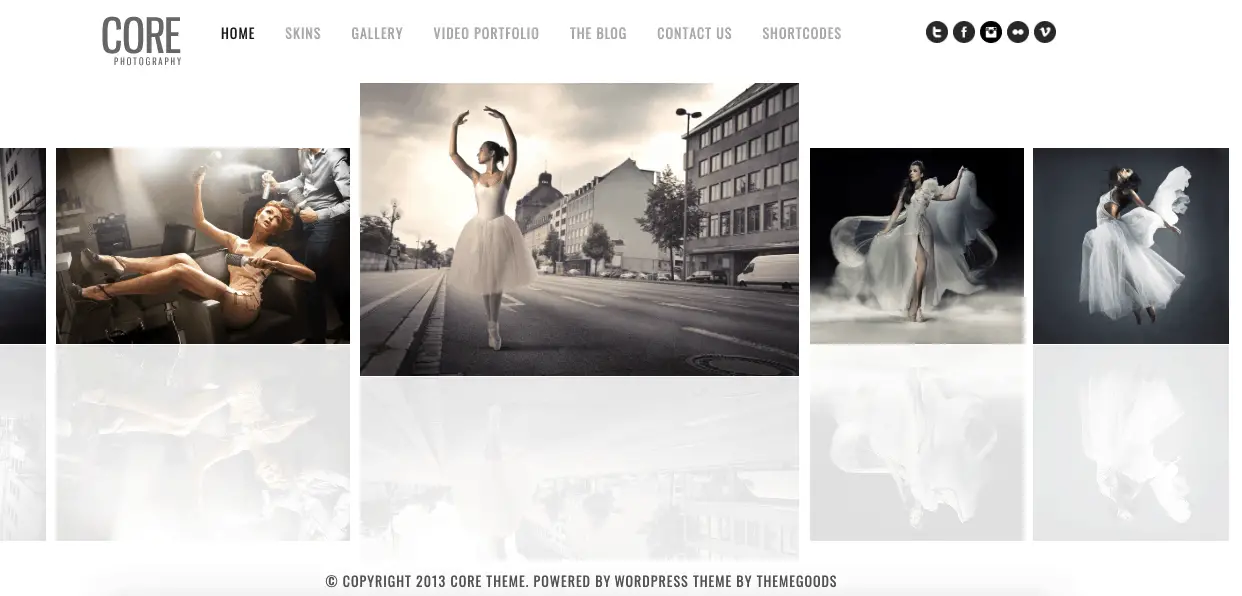
If you prefer something minimalistic, you’ll want to implement something like Core, a very modern theme with clear lines that functions like a slideshow where all of your photos are immediately visible to your visitors. You’ll be offered a choice between very slick light and dark skins, based on your preference, and both of them look stunning.
Maybe photography is just a hobby, and you’re looking for a less expensive solution – Neve Photography could the way to go. It has all the basic features a theme should have and what you would expect from a premium option – responsive, compatible with page builders, and it’s fully optimized. Once you get deeper into the features, it doesn’t have the vast databases that some premium options have, but it’s still quite robust, and again – it’s free.
Either way you look at it there is something available for everyone, you just take your pick according to what works best for you.
Uploading and formatting photos
Your photos are at the essence of what you’re providing through your site. Because of this, you really need to take special care of how they are presented. Setting a standard and maintaining it is something you should really strive for. High-quality images, however, bring with them certain things that have to be addressed. The first thing that jumps out is the site; they’re big, so don’t expect a .jpeg of a couple of MB in size is going to be the average.
This means they have to be properly formatted, so they don’t slow down your site while loading. Formatting encompasses resizing, compression, cropping, and even the file type. Once everything is taken care of, you shouldn’t have any problems keeping your site running as fast as it needs to be.

After you’ve uploaded and formatted your photos, it’s time to sort them into galleries and/or portfolios. Both will add to the performance of the site because photos won’t have to be loaded until a segment is opened. The benefits don’t stop at speed – it’s much easier to look at a cleaner site that doesn’t drop all the content at you all at once, and it’s easier to orient yourself when everything is grouped together in some fashion.
You can use the default gallery options in WordPress to sort your photos, but it’s much better to use the ones that are provided within your themes. If you’ve implemented a specialized theme that works best for photography, the galleries and portfolios it provides will, without a doubt, be better suited for the task than the default ones you’d work with.
Plugins
We’ve already touched on plugins in somewhat broad terms, but now we’ll try to be more specific. As you probably know, plugins are the lifeblood of WordPress. They make it such a successful platform that it is, so you’ll need to implement them into your work any way you look at it. Pretty much any aspect of your site can be run through a plugin. We would, however, recommend that you don’t apply every plugin you come across – use what you need and keep it simple. Using too much runs the risk of incompatibility and slow speeds.
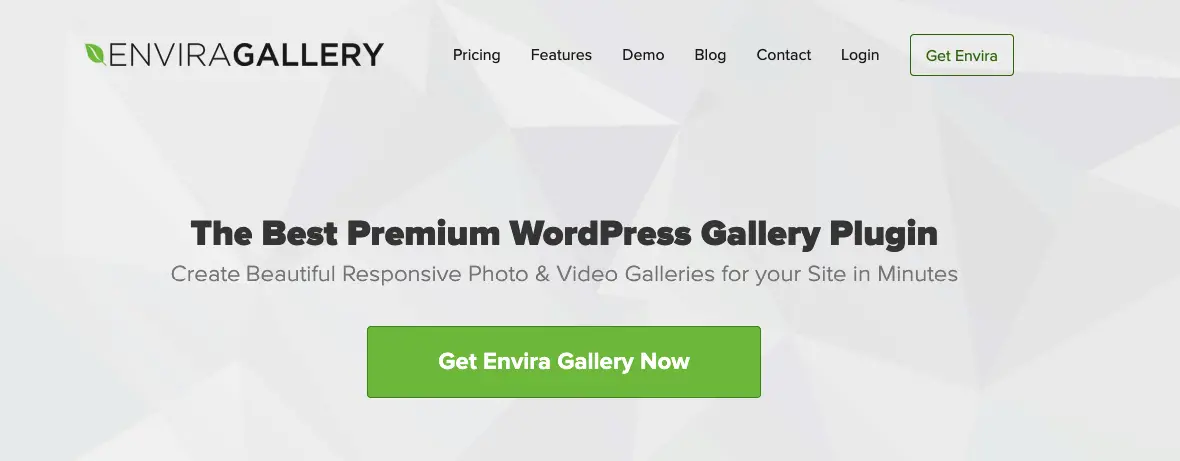
Running a photography site, you can’t have enough gallery options, so something like the Envira Gallery plugin would be an excellent choice. You’ll get the hang of the ins and outs pretty quickly with the drag and drop interface similar to the various visual editors available out there. Since you’ll have multiple options to create your galleries, more attention should be given to other things like optimization, various layouts, and security.
To help out with it all, there are plugins such as EWWW Image Optimizer, Regenerate Thumbnail, and/or Wordfence Security. The first one is great for resizing and formatting your images all in one place. Just imagine how much time you could save standardizing everything globally across your entire site, rather than individually. In order to avoid unnecessary load times that hamper your site, images within galleries and portfolios should be presented as thumbnails that load much faster because of their size.
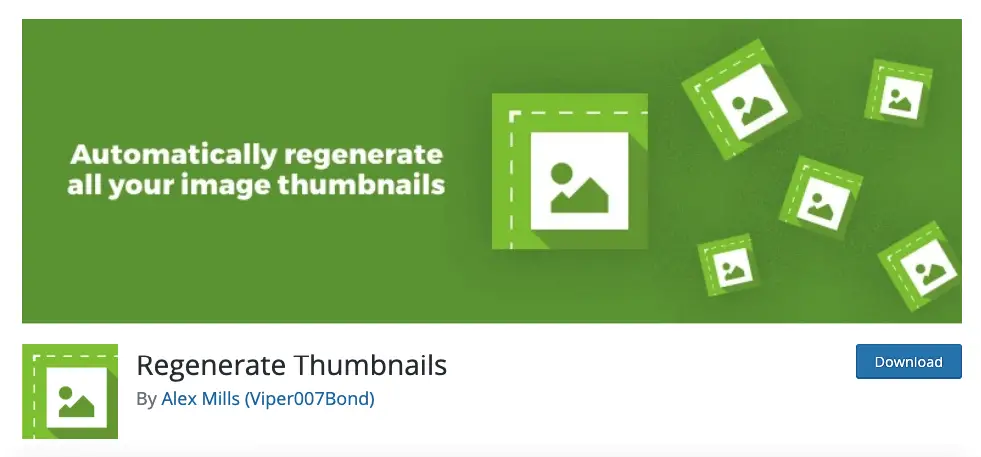
However, a certain site-wide standard needs to be kept here as well, and this is where our second featured plugin comes in. You’ll be able to edit your thumbnails all in one place, both old and new, as well as format them so that each one fits into your layout perfectly. Every site needs to be secure. Naturally, you’ll want to protect your data, but as a website provider, you’ll also need to ensure the safety of your visitor’s data. A sufficient level of security is obtained by combining firewall protection that doesn’t let anything in and a quality scan option as a deterrent that isolates if anything does get through.
Rest assured, there is a plugin for just about anything you can think of, yours is just to look. The ones we’ve highlighted here are just those that can and will cover the core functions you need your site to perform.
Sales
Everything is pretty much set up by this point; there is just one thing to take care of before launching – the sales aspect. Now, if you don’t plan to sell your photos through the site, just skip this one if however, you want to implement a selling option look no further than WooCommerce.
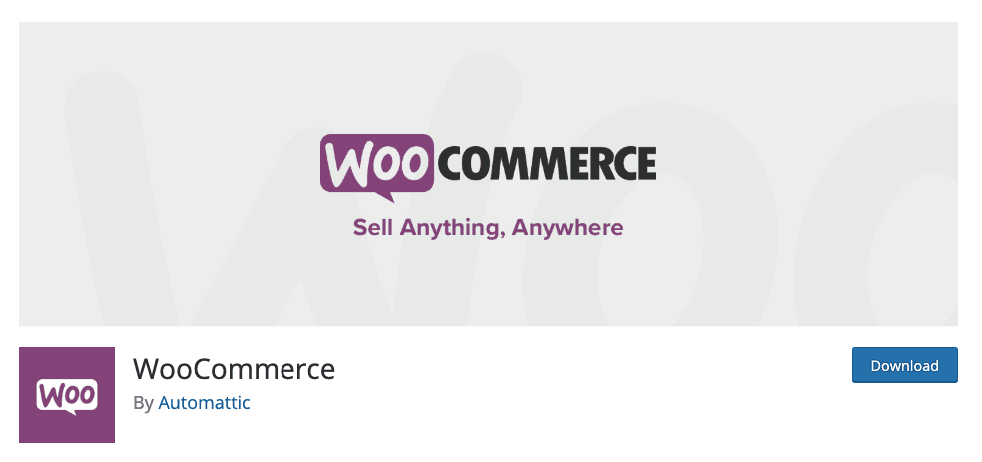
With WooCommerce, you’ll be getting the most widespread eCommerce tool that’s also integrated into all relevant plugins and themes. You’ll need to set it up, of course. Firstly, by itself, with all the databases that are required and then again to be displayed correctly when connected to other plugins. Both selling physical and digital copies will be possible, of course. Keep in mind that presentation is key here, so make sure all your photos are pristine, no matter the format in which you’re selling.
The main benefit you get from selling your own work is cutting out any third parties that would otherwise demand a part of the proceeds. Furthermore, you get to control how your work is displayed and in which way it’s displayed for the world to see. Keeping these things in your own control will ultimately enable you to make all the decisions from start to finish.
Launch
And we’re done. Us with our guide and you with your site. The only thing left is to go live and offer up everything you’ve put so much time creating. As a final note after launching, it should go without saying that you should update and maintain your site regularly – all aspects of it. Outdated data could lead to incompatibility issues, low speed, and low SEO scores – all the things that separate the top sites from the rest. Be sure always to be looking for more and evolving lest you be left behind by your competitors and enjoy your passion. Sites connected to artwork best as passion projects regardless of profit.