

No matter what kind of website you’re running, photos will most likely be an integral part of it. Not only do they serve to illustrate the topic you’re discussing to your readers, but they also play a big role in keeping a reader engaged with the text. Because of that, it is extremely important to prepare photos for your website properly – this will make the experience of visiting your website much more pleasurable and can even increase your profit significantly.
There are plenty of ways to do this, though, so here are the top 10 tips to prepare photos for your website.
Be careful when optimizing alt attributes
A well-designed alt attribute can help your website’s SEO a lot, so you should make sure that it contains the most important keywords for that photo. However, don’t go too far – stick to what’s in the picture. Too many keywords can hurt you when it comes to your position on various search engines.
Watch out for your images’ size
The bigger the photo you incorporate into your website the more time it will take for it to load. And it doesn’t take too much to annoy an average customer if the page they’re looking for is loading slowly. It is therefore recommended that your images stay below the 70 kB threshold. If you have bigger images you would like to present, first, shrink your images’ size (but not through source code!) and then offer your customers the chance to view them bigger separately.
Buy photos from the same source
If you decide to invest in buying some photos for your website, you would do well to stick to only one photographer. This will give all your pages a unified look and everything will look much more balanced. Different photographers usually mean different styles, so some photos may stick out like a sore thumb.
Consider the format you’re using
Generally speaking, the safest format to use on your website is JPEG. GIFs don’t have the same quality and are mostly used for simple images that are not demanding in terms of the colors.
PNEG images are somewhat of an upgrade to GIFs, but while they can show a much wider array of colors, they are also much larger.
And if you do use PNEG format, be careful which PNEG subtype you’re using: PNG-8 should be a better choice than PNEG-24
Thumbnail optimization
Do you have an eCommerce website? Then the chances are you will have quite a few thumbnails here. And as is the case with everything that comes in large number, thumbnails too can slow down your website’s loading time and cost you clients, i.e. money. Don’t be afraid to reduce your thumbnail’s size.
Optimize decorative photos
Using nice photos to enhance user experience is generally a good thing, but that can be a double-edged sword. Again the main concern here is slow load time. If you have some simple images, use the PNG-8 or GIF format for them. Furthermore, if you have a big background photo on your website, you may want to simply cut out the part that’s always covered by the content. That reduces the file size by a lot!
Image sitemaps help a lot!
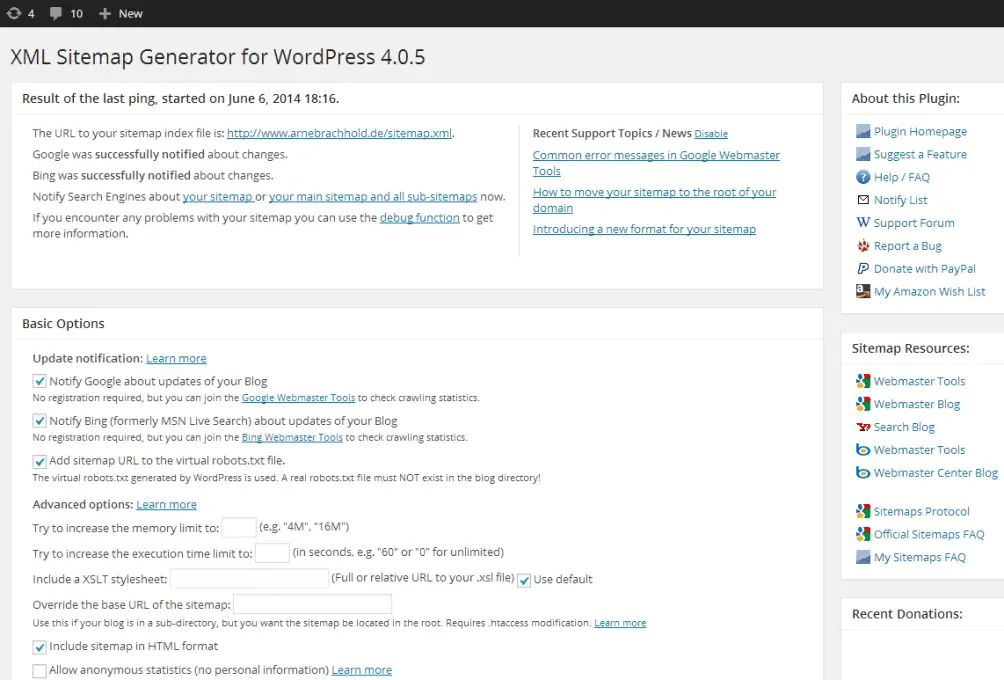
Regular sitemaps are something very important for your website, and the same goes for image sitemaps. The latter will help Google a lot and can, therefore, be quite beneficial for your SEO ranking. You can simply add image info to your existing sitemap or create an image sitemap separately. Google XML Sitemap for Images is a very handy WordPress plugin for that.
Implement social networks
Allowing visitors to share the photos from your website on their social network accounts will not only help you reach a wider audience, but it will also help your SEO rating a lot. All you have to do is add a button next to every photo. Pinterest, Facebook, Twitter and overall, that kind of thing.
Name your files properly
Another thing that can give you a significant amount of SEO juice is the way you name the files. Just like alt text, this too should be written in such a way that it is clear what the image is referring to.
Use ResizeMyImage to optimize your images
Don’t be afraid that all of this is some complicated stuff. As a matter of fact, ResizeMyImage is a website that will help you resize your images in a very easy manner. You can also compress them, paint on them and edit them in a variety of different ways. Invest just a little bit of time there and you will be able to give your website a very distinctive look.
Overall
As you can see, there is much more to adding photos to your website than a simple copy/paste action. You need to be aware of the files’ size, format, and several other factors. Apart from affecting the speed at which your website loads, investing some effort into these elements can help you a lot in SEO terms. However, you don’t have to worry that optimizing photos demands some extensive knowledge.
Basic skills in Photoshop will serve you well, but there are also plenty of WordPress plugins and a specialized website you can use to make the process a lot easier for yourself. The benefits of following these tips can be significant, especially if you’re running an eCommerce website because paying customers are usually not willing to wait a lot for the website to load. With this knowledge, your traffic will surely grow!