
As the years go by, social media is becoming even more rooted in our daily lives. Therefore it would be unwise to think of it as just a place for checking up on friends. More and more companies are utilizing the promoting potential of social media platforms to ensure that they are seen. For both large companies like Coca-Cola and small startups, having a grasp of social media marketing fundamentals is key to success. That brings up the question, “Why should you promote yourself on Pinterest?”.
Launched in 2010 by creators Paul Sciarra, Ben Silbermann, and Evan Sharp, Pinterest was able to differentiate itself from its competition by focusing on a specific niche. Today Pinterest has over 459 million monthly active users.
In case you are completely new to this, here is a quick rundown of how it works. Images posted on your site or Pinterest are called pins, and they can be saved (pinned) on boards that are user-curated collections of pins. On top of that, by utilizing user input, Pinterest automatically finds and shows you content similar to the pins you saved.
Since it is extremely easy to find content on Pinterest, many companies already started using it for marketing which is made easier by the inclusion of Rich Pins (we’re going to take a look at them later).
These are the basic principles of how Pinterest works, and you should already be able to see that it is a perfect platform for marketing. So why not take the time and learn how to optimize your WordPress blog content for Pinterest.
Before we get into the specifics, I would like to take a moment to highlight two things that you need to do before getting into promoting yourself on Pinterest. The first thing that you need to make sure of is whether your site is a good one. There is no point in putting effort into promoting yourself on Pinterest if you are sending people to a half-finished website. This step is paramount as it ensures that when people click on your website, they stay there, and if you are lucky, they return.
The other thing that you absolutely need to have a basic grasp of is how to promote anything on the internet. Going into detail on how to do this would exceed this article’s scope, so keep in mind these following key points. Be consistent with what, when, and how often you post, pick a format that suits you and stick to it, be concise, stick out, etc.
The basics
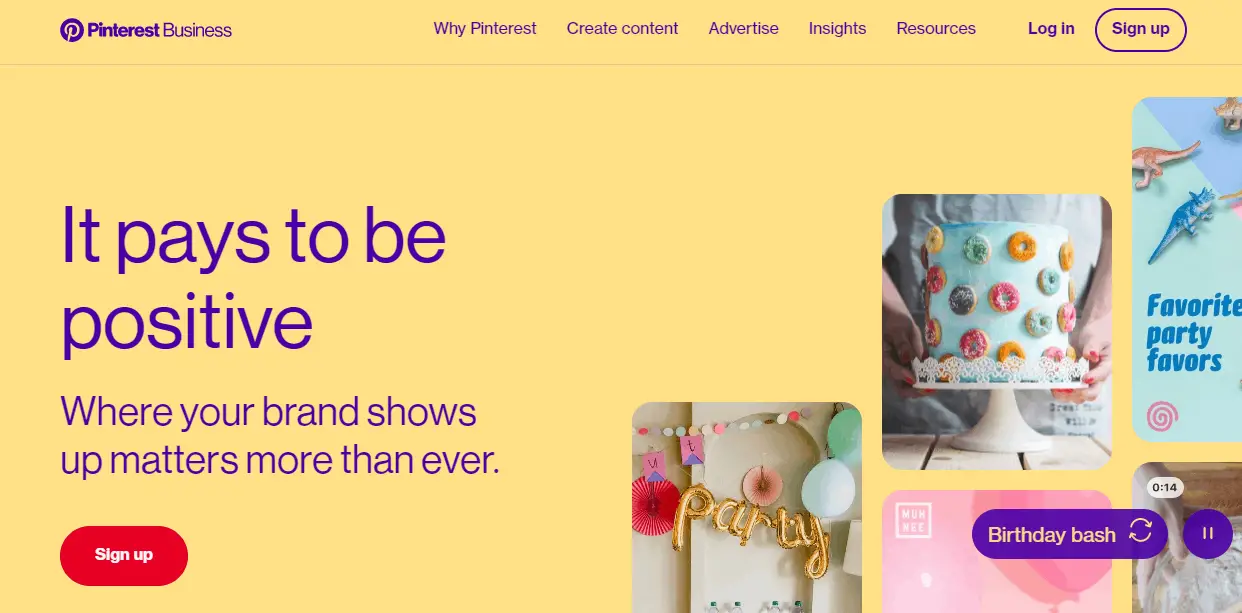
Now that your site is looking good and you have a grasp of how marketing works, the first step would be to create a Pinterest business account. In case you already have a personal account, there is no need to fret as you can convert it to a business one without any issue.
After doing so, you need to link your site so that Pinterest can verify it. The effort that you have to put in at this stage varies depending on what plugin you are using for social media integration. We would recommend Monarch or Yoast SEO as they are quick and easy to set up.
Congratulations, you now have access to the previously mentioned Ritch Pins feature. Rich Pins are simply amazing, as they allow you to not just link people to your site but also provide additional information about your post. There are three different types of Rich Pins, but most people will be interested in either the article or the product pins.
Image optimization
Now that the groundwork has been set, we can get into the real meat of this article, and that is image optimization. Since Pinterest is a visual content platform, it makes sense that the key to success on it is good-looking images. Now, how do we achieve this?
Thankfully you don’t have to be a graphic design wiz to create a good-looking image. By using apps like Crello or Pixelied, you can drastically cut down on the amount of effort required to create a professional-looking image that fits both Pinterest and your website.
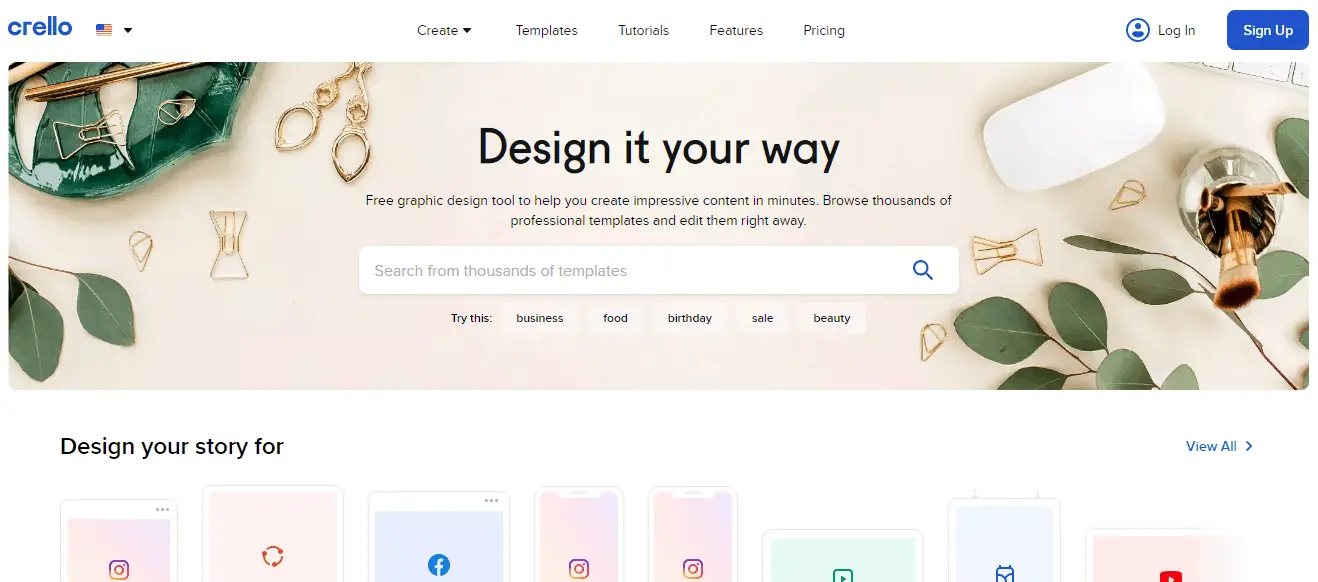
Both apps offer great-looking templates that can be resized and manipulated to your needs. And not to mention that you don’t need to worry about dimensions as both Crello and Pixelied have built-in features that optimize your images for the platform that you plan to market on.
![]()
We would suggest taking a look at both of these apps for yourself and deciding what suits you the best. When creating your images, you should aim for something that will stand out and make people want to click on your post. Stick to the color scheme of your website and use an easy-to-read font. Also, make sure that you include your domain name as you want to create an easily recognizable online brand.
Image sizing
Here are the optimal image dimensions for posting on Pinterest. Notice a pattern?
| 1 | 2 | 3 | 4 | |
| Width | 600px | 1000 px | 1200 px | 2000 px |
| Height | 900 px | 1500 px | 1800 px | 3000 px |
Images following these dimensions are elongated and oriented vertically, which makes them perfect for looking at when scrolling on your phone. But these images are not the greatest when it comes to using them on your website.
We would suggest using an image that is oriented horizontally (dimensions like 2400 x 1600px, 1500 x 1000px work wonders). Also, make sure that the image you posted on Pinterest is located near the start of the text as you want to grab your visitors’ attention. The ideal position would be making it the second or third image on your website.
On top of that, make sure that people can pin the image directly from your site since they might forget to do that after reading your article. The easiest way to make that possible is to install a WordPress plugin like PI Button, which will set everything up for you in a jiffy.
Final touches
Last but certainly not least, change the alt text of your image. You need to do this, as Pinterest will display the provided text when someone clicks on your post.
Don’t waste this opportunity to promote your site even further. Put some hashtags in there so that people can find you more easily.
Try to fit in around 7 hashtags, as putting in fewer hashtags will limit your ability for marketing, and putting in more will yield insignificant results for the amount of effort you have to put in.
Conclusion
And that is about it. Even though this article gives you some strict do’s and don’ts, make sure that you take them with a grain of salt. The thing that everyone on the internet wants right now is to be seen. And sometimes, being a little different can go a long way.
Experimentation leads to innovation, so I would strongly recommend that you start with the basics provided in this article. After you have tested the waters, then you should start experimenting and making your web presence unique.